

Firmware restore on the Ouya.
When playing with Android OS there needs to be an "Undo" button when it comes to the Firmware. The Ouya is no different. Perhaps as a user, you've grown tired of playing with Lineage. Perhaps you are going to sell your Ouya on eBay and you don't want any data left on the thing. Or you're trying to bring a soft-bricked Ouya back to life. Whatever the case may be this tutorial is here to help you wipe whatever is on your Ouya and bring it back to factory defaults.
This is considered "Section 5" of a long tutorial about Ouya because, like all of the previous sections, we'll be relying on the Raspberry Pi or a Linux box to perform these tasks instead of going through the sheer pain of using ADB on a Windows environment. Also, some of the beginning sections are required for those who have never used a Linux box in their life.
Without further delay, let's dive in shall we?
"Note: If you get a black screen but the audio is playing. Or you have a potato PC and it's studdering. We have fallback Links below."

Video tutorial fallback mirrors:
In case you have no-script enabled or for some reason cannot see the title video on this website. We have provided direct links for these videos. For more information about the standards we use on this site click here if you would like to know more.
AV1       - Link
MP4/.h264 - Link
OGV       - Link
Download firmware:
Click here to download RC-OUYA-1.2.1427-r1_ota.zip - the zip container is the firmware and needs no extraction unless you want to check out the guts.;)
A blog or any tutorial frankly should be responsible enough to provide you with all of the tools that you need to perform what it is teaching. This is why we use a blog CMS service instead of just joining a forum to dump this content upon. This is the belief that we hold. The downloads that you click on here are being hosted locally and with no tracking/spyware/adware/malware attached to them. We are not going to throw you off into some garbage "Free-Filez" site that's going to load your Android or PC with crap either! However, I should also throw a disclaimer that anything you download off of the internet is suspect. That you should have a virus scanner on your machine to ensure that the files you are getting are legit.
Always check your data!
Prerequisites:
This tutorial assumes that you have performed the following tasks from previous blog entries. Describing everything in a solid blog article would tend to lead down the path of insanity as it would be 10,000+ words and over 27 minutes of video that some more experienced users may or may not need.
 Setting up your Raspberry Pi to begin ADB on Ouya.
The Samba and SSH section is completely optional but if you want to access your Raspberry Pi wireless it is super handy to do.
 Set up Raspberry Pi with SSH and Samba for wireless remote access ADB.
Let's begin.
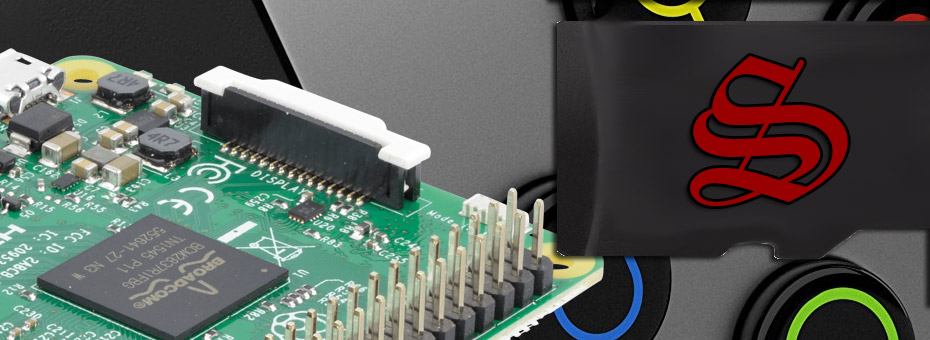
The first thing we're going to do is plug in a Micro-USB cable from the Raspberry Pi and/or Linux box over to our Ouya and power the console up. Also, it's a good idea to have a USB keyboard plugged into the back of the Ouya as well. If you need an extra USB keyboard find a thrift store in your area. They tend to sell Dell USB keyboards for super cheap.
After which we will log in to our Raspberry Pi either locally via terminal or remotely via SSH to start our ADB services. We're also going to assume that you have downloaded the Ouya Firmware from this very blog and placed it into /d0/Ouya-FW/ in the Raspberry Pi. If you placed the file in a different folder then make your adjustments accordingly.
cd /d0/Ouya-FW
adb start-server
adb devices
The "ADB devices" command is just to confirm that the Ouya is visible to your Raspberry Pi.
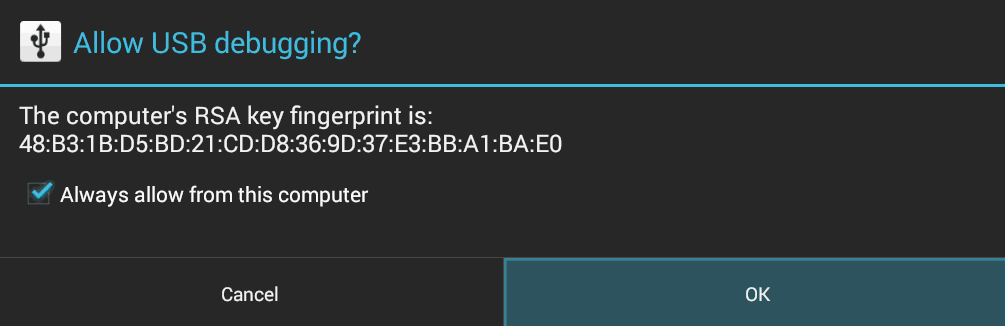
If you are plugging in your Raspberry Pi to an Ouya which already has Cyanogen or Lineage on it then it may come up with a window asking to allow debugging. If you don't hit "OK" on this then it won't give access to pass commands on the Ouya.
Now we are going to boot the Ouya into recovery mode:
ADB reboot recovery
Your screen will turn black only momentarily and then you'll be greeted with one of two screens.
Scenario 1: A stock recovery partition.
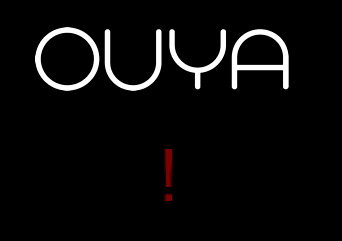
You will be greeted with something like this at the very center of your screen. No menus. No nothing! This is mostly because Ouya Corporation doesn't want you in this partition! Pick up a keyboard connected to your Ouya and press the home button on it.
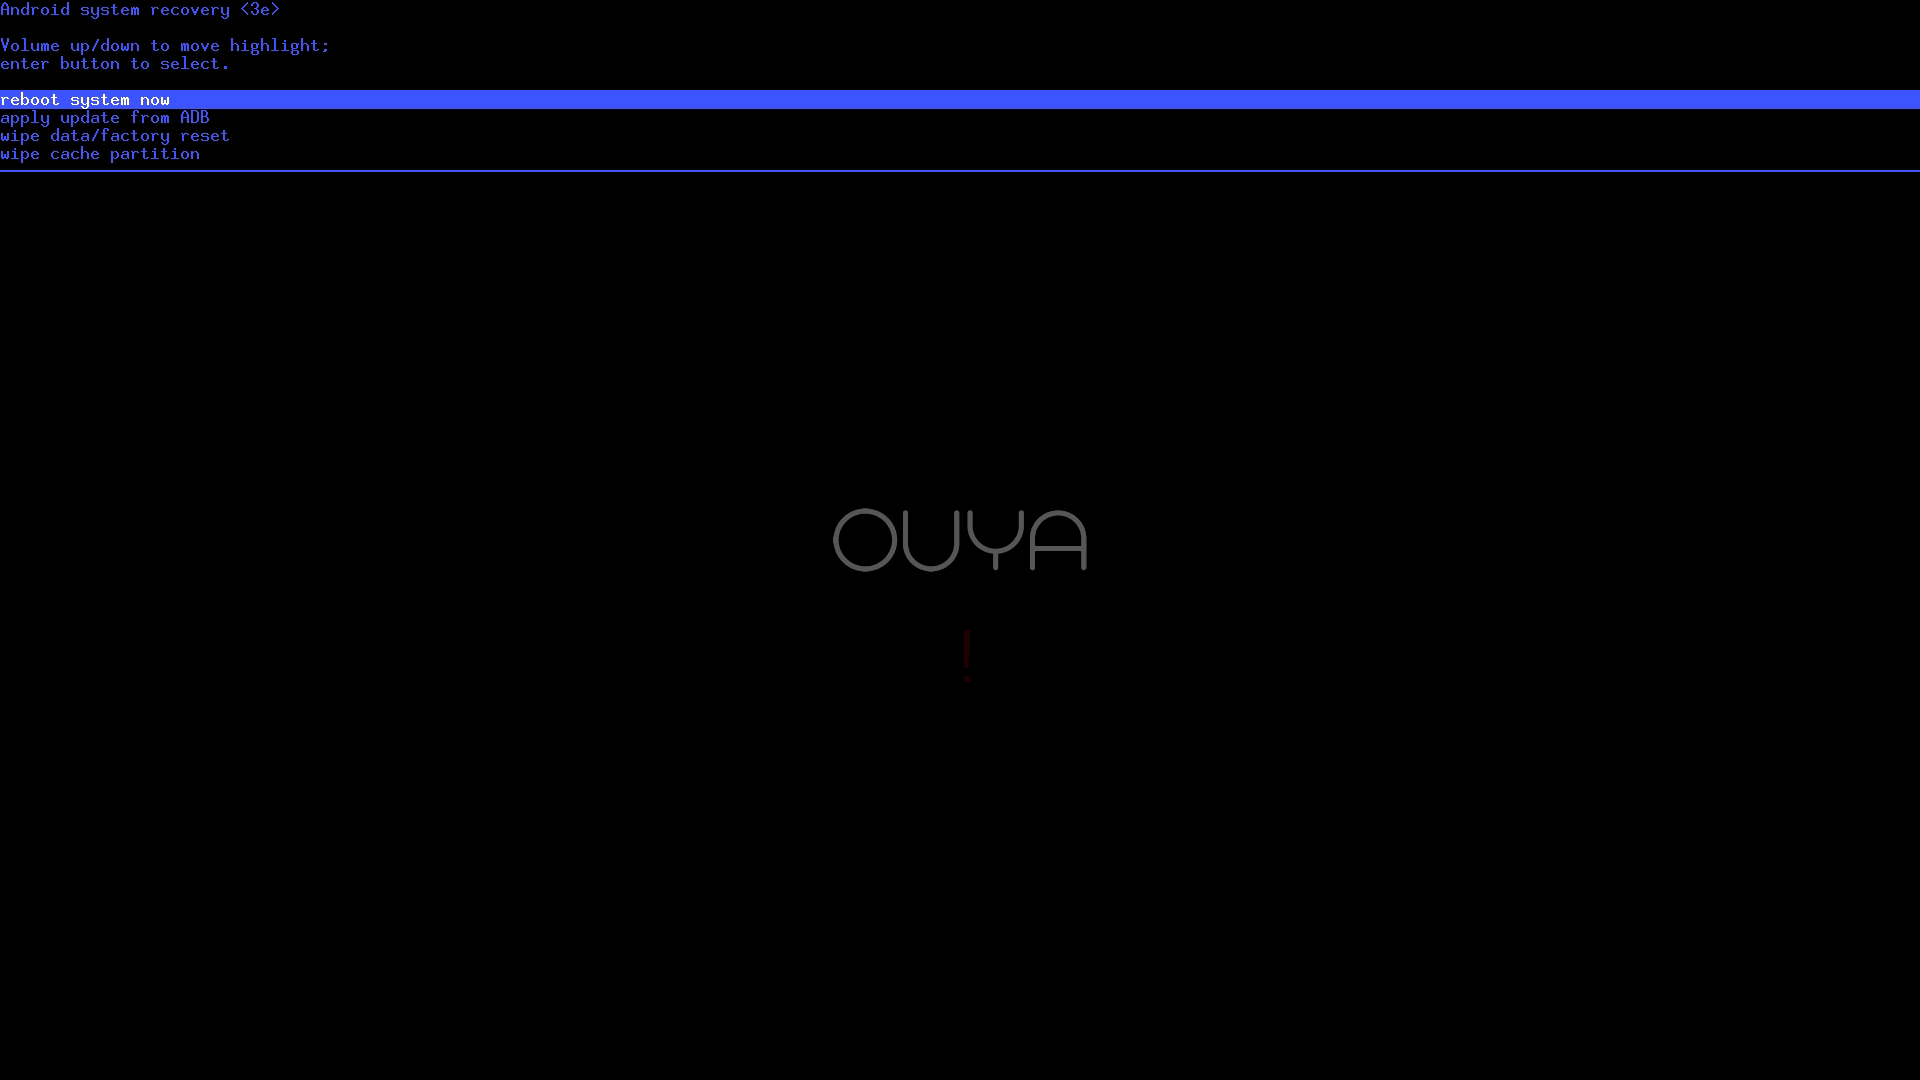
Your screen should then come to life looking like this. It's not a luxurious recovery screen but it's functional! Just like in previous tutorials, we're only going to focus on menus and text for readability and to save bandwidth.
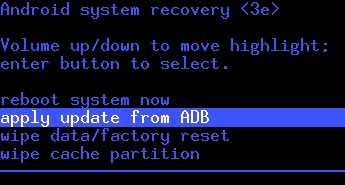
Arrow down to "apply update from ADB" and press enter to continue.
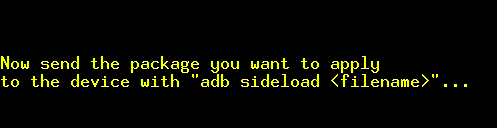
Text info and notifications will appear in the middle of the screen, unlike ClockWorkMOD which they put it at the bottom.
This is where we jump back to the Raspberry Pi and type in the following.
adb sideload RC-OUYA-1.2.1427-r1_ota.zip
Your Raspberry Pi should respond with the following:
loading: 'RC-OUYA-1.2.1427-r1_ota.zip'
sending: 'RC-OUYA-1.2.1427-r1_ota.zip'     80%
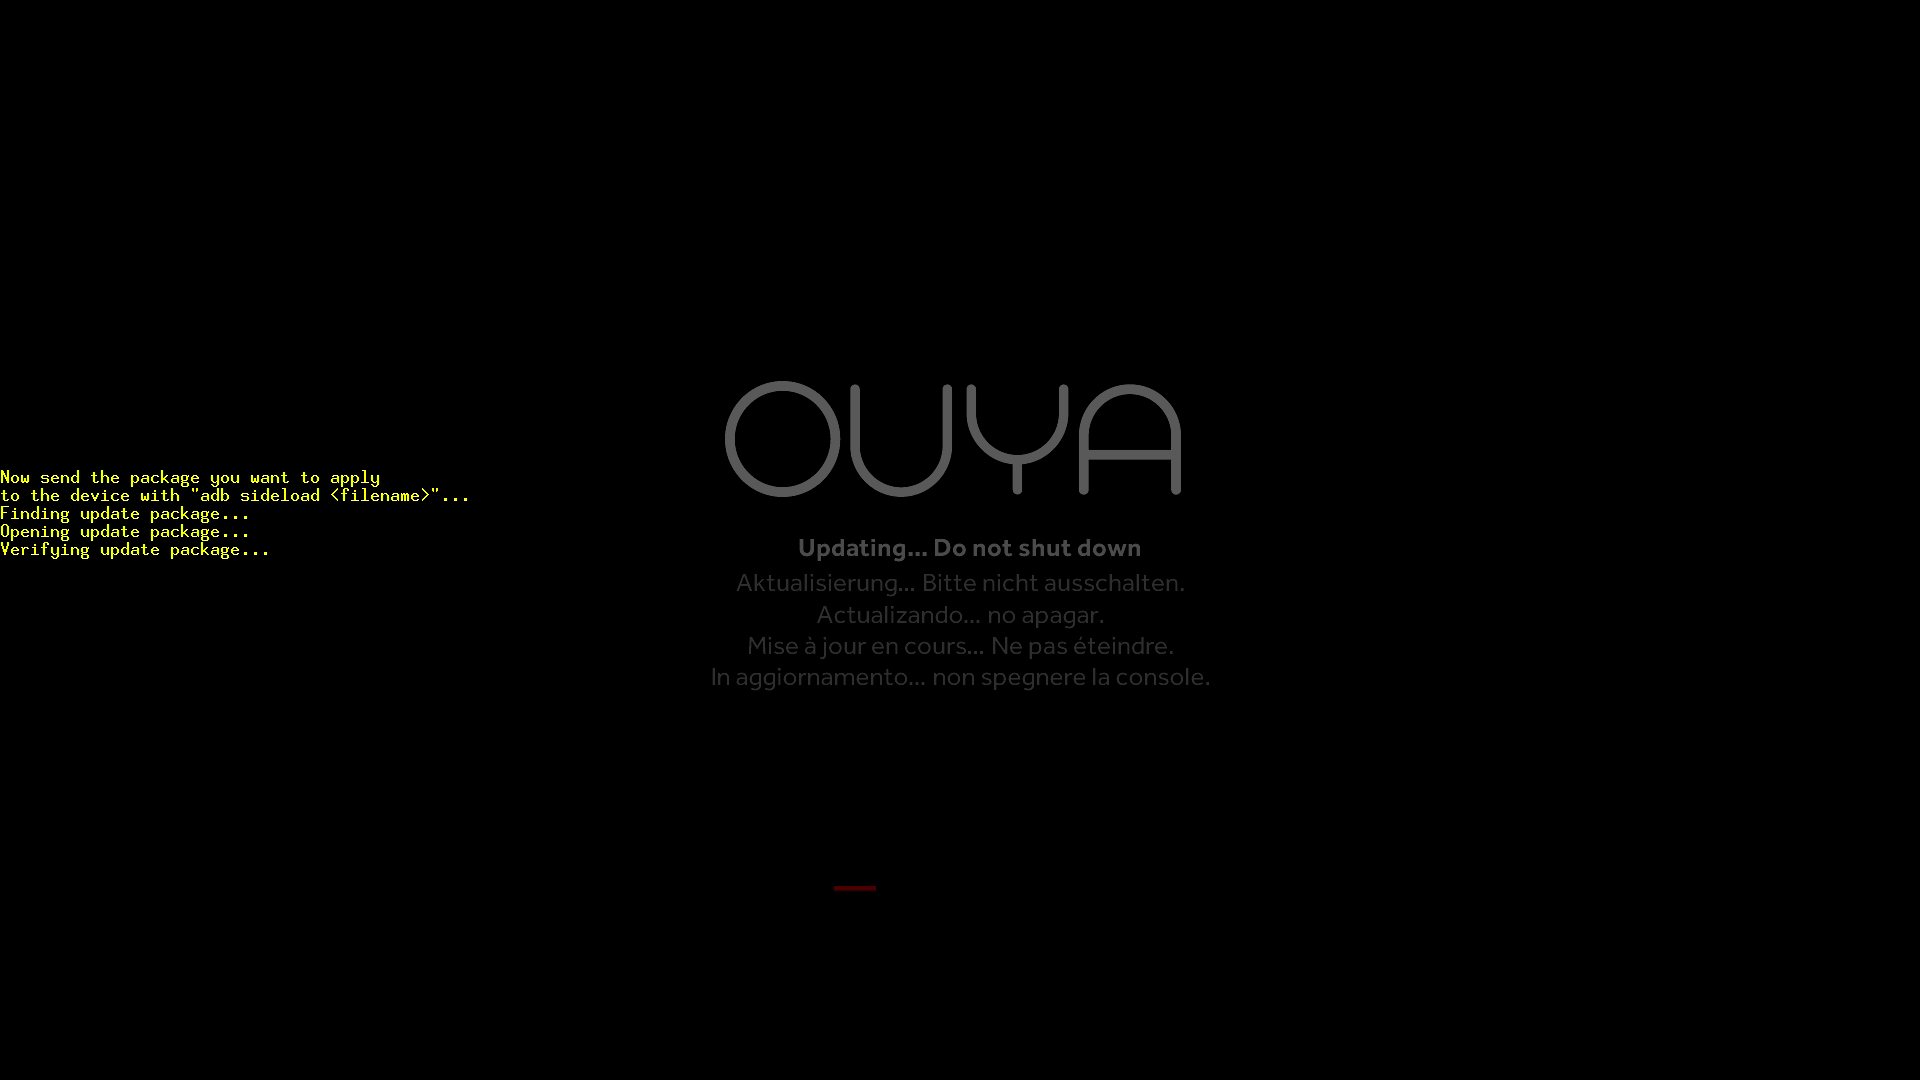
At %100 the Ouya then begins to go to work loading the firmware. This can take up to a minute so be patient here. Afterward, it will dump us back to the Android system recovery menu.
Incredibly important!!! Always wipe your data!!!
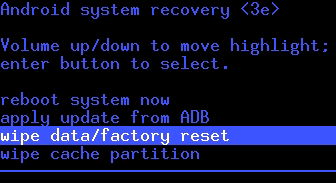
We want to wipe all data off of our Ouya. Not for security reasons but for sanity reasons! You see, whenever you reload an Android OS it's assuming that there are no user profiles, no data, nothing that could get in the way of its startup script. Arrow down to "wipe data/factory reset" and press "enter" to continue.
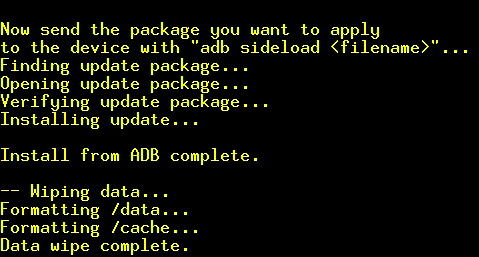
The Ouya will go to work wiping out all of the extra data on this unit.

Finally, we arrow down to "wipe cache partition" and press "enter."
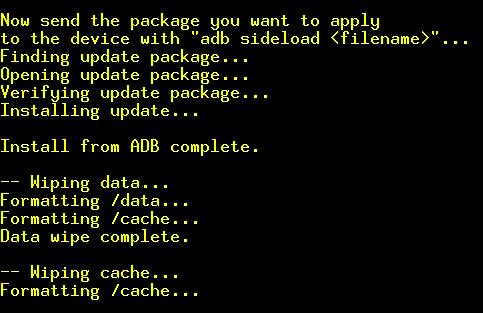
It may seem redundant but better safe than sorry.
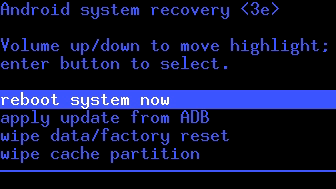
Finally, you can simply press "enter" to "reboot system now"
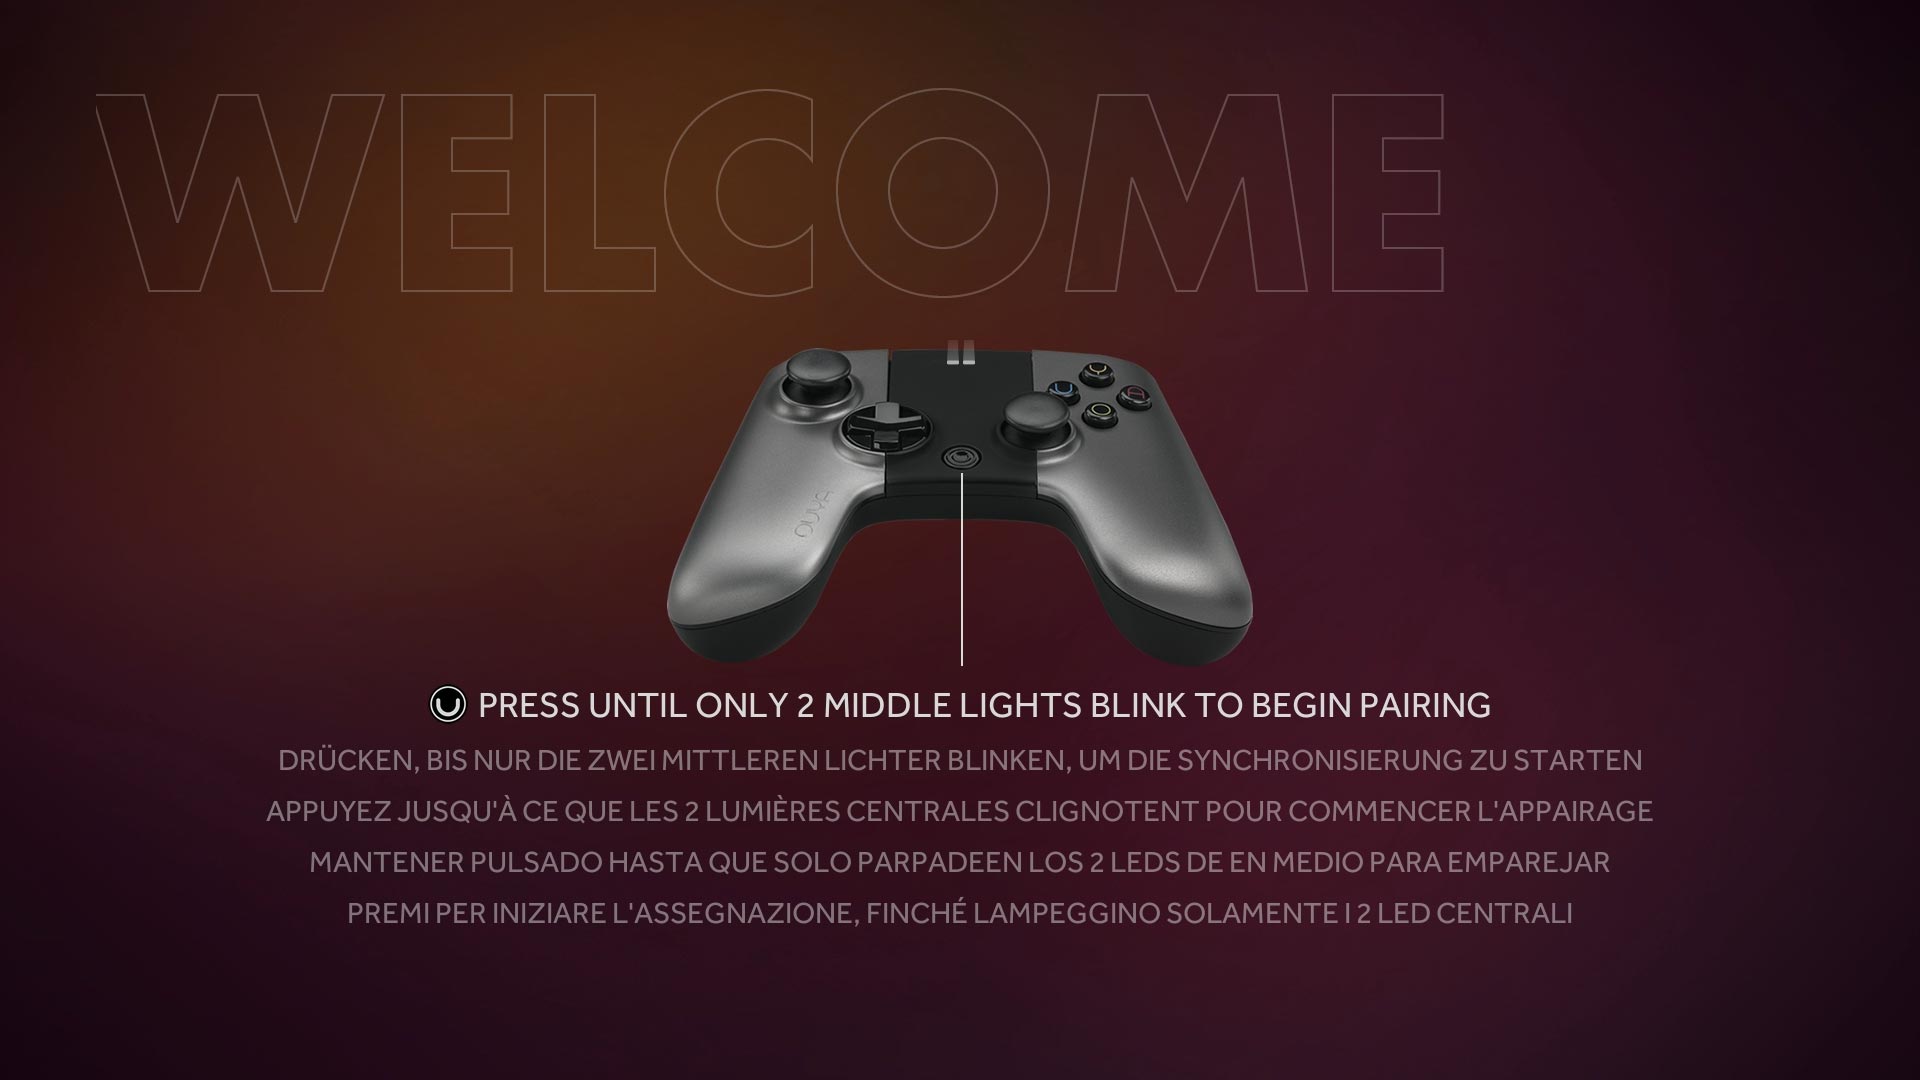
If all goes well you will be greeted with the Ouya welcome screen just as if it came from the factory.
What if I fail to clear the cache?
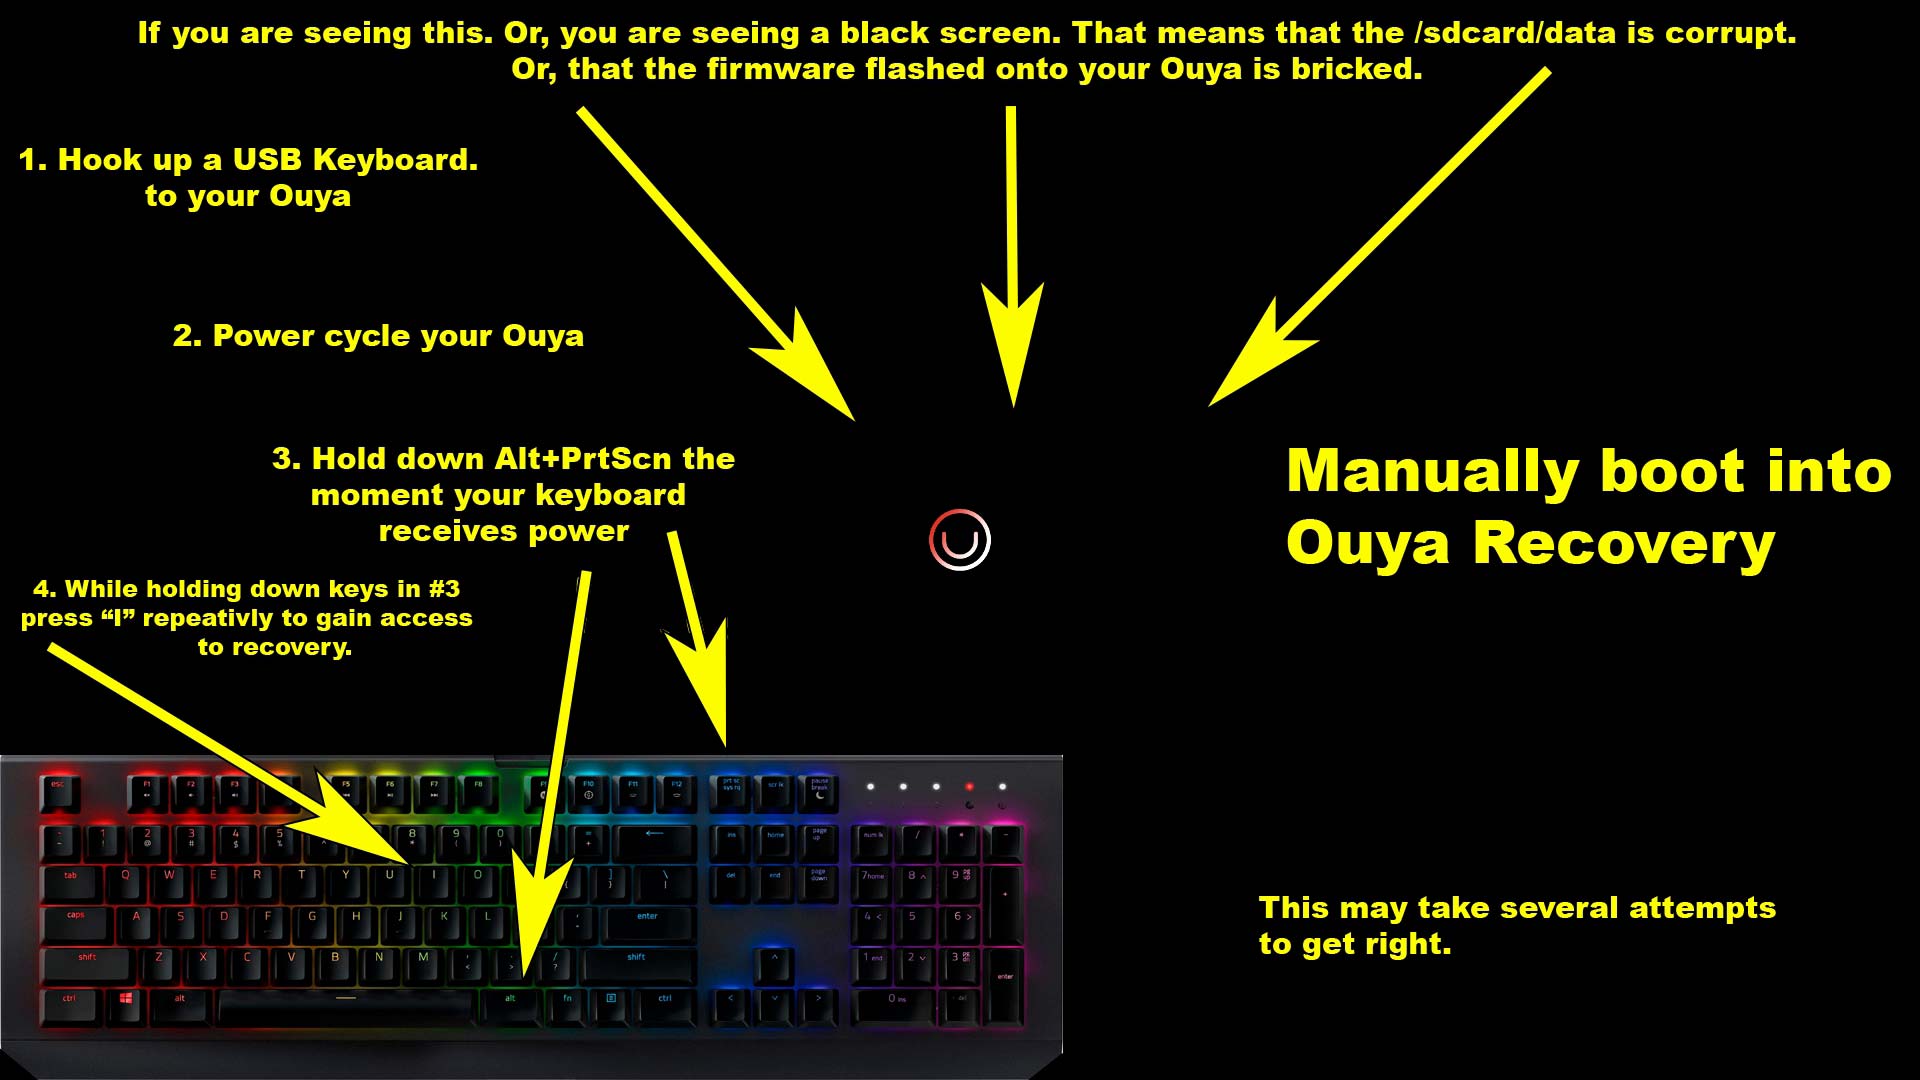
You will get the Ouya boot loop of death! Or a soft brick as some would like to call it. To which you're going to have to go back into recovery mode the hard way by unplugging your Ouya. Plugging it back in and immediately using a keyboard and holding down Alt+PrtScrn all the while pressing the "I" key repetitively. To add the kick to the balls it doesn't work all of the time and may require several attempts to bring it back to the recovery partition so you can finish your job wiping the cache.
Scenario 2: ClockWorkMod recovery partition.
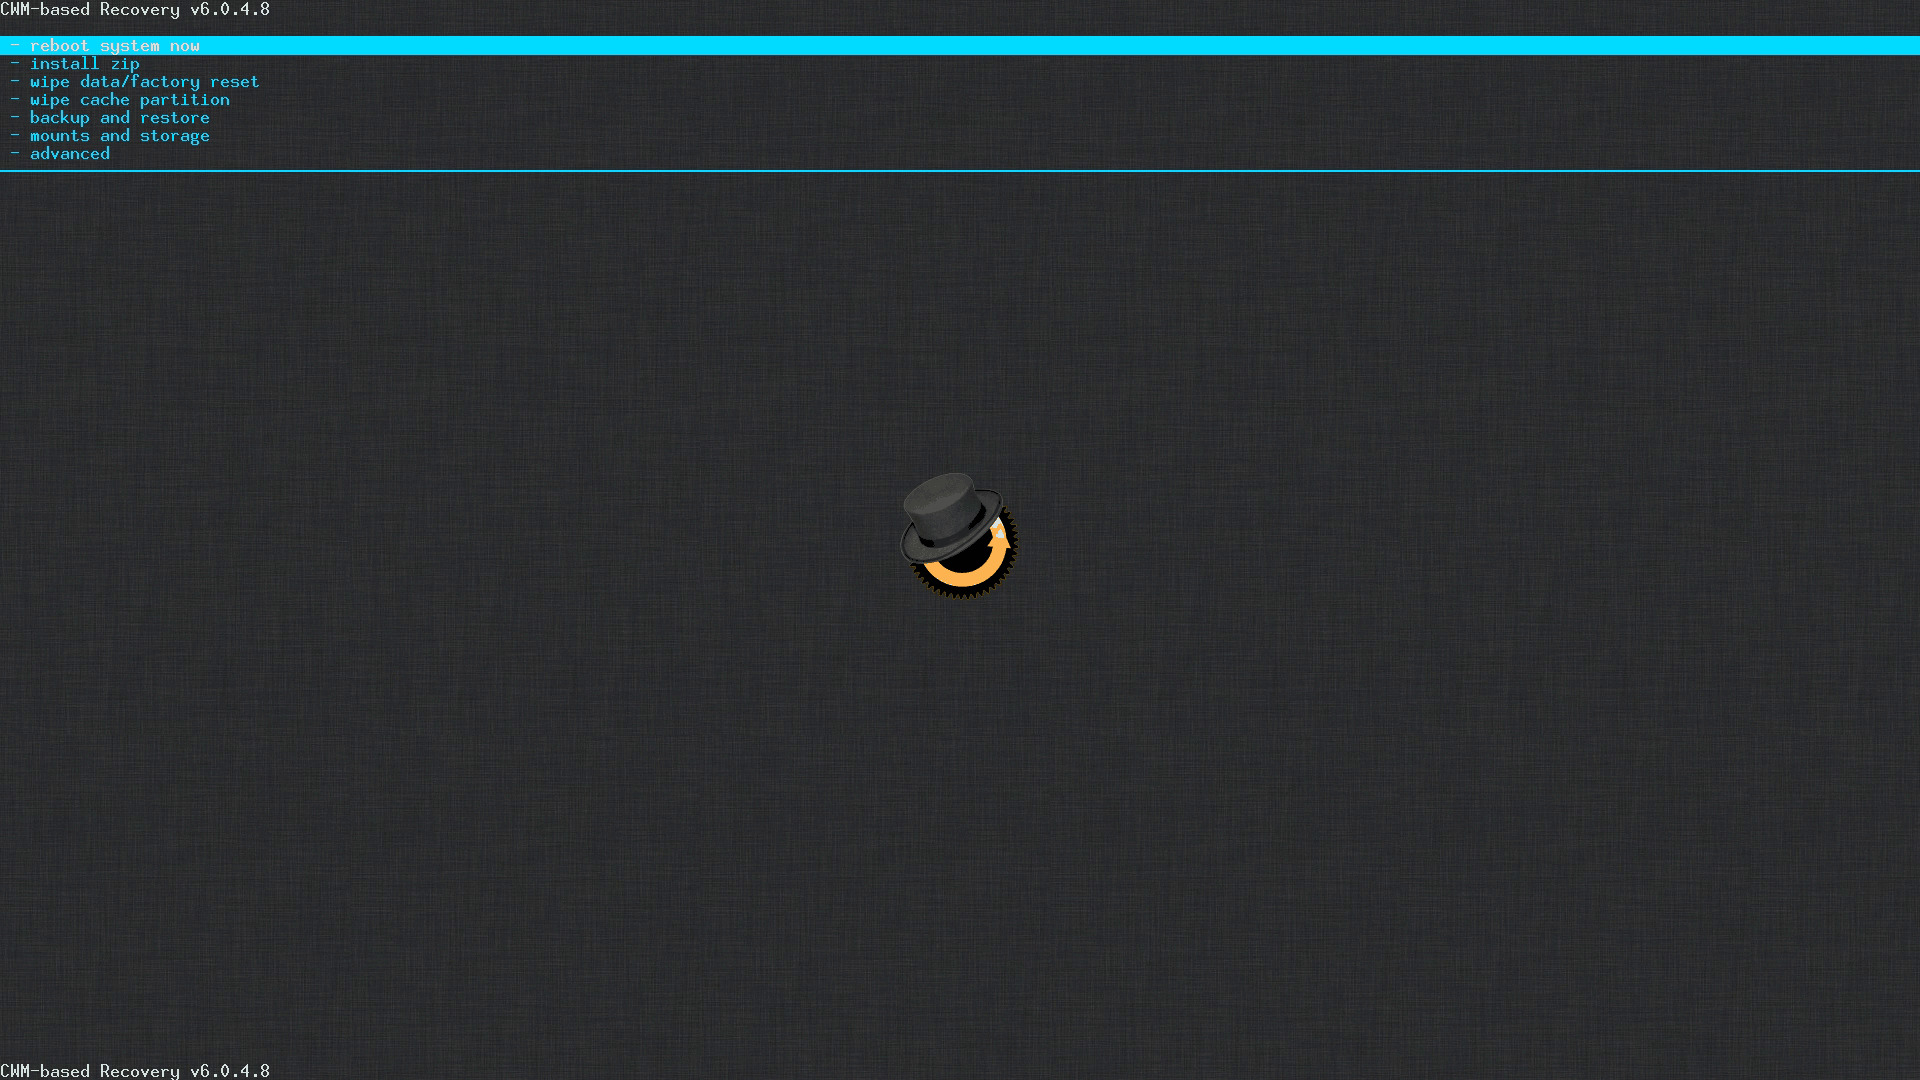
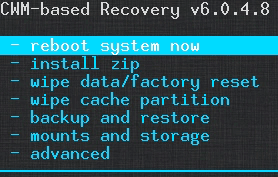
If you are greeted with a screen like this after passing the "ADB reboot recovery" command that means that this Ouya was modded at one point or had Cyanogen/Lineage on it which as a result has the ClockWorkMOD recovery partition. This isn't a big deal as you just have to follow the tutorial for ADB sideloading but instead of loading a series of zip files, we're only going to load just one.
Out of interest in saving bandwidth, we shall only focus on the menu selector in the upper left-hand corner as that is probably the most important aspect of this utility.
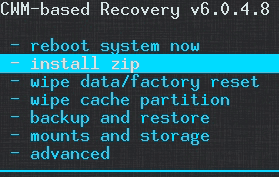
Arrow down with the keyboard to install zip and press enter.
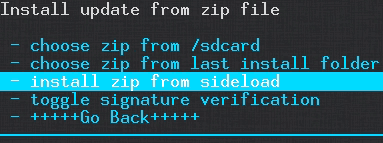
Arrow down again to install zip from sideload and press enter.
At this point, we do not have to touch anything on the Ouya and we head back over to your Raspberry Pi/SSH Linux session.
adb sideload RC-OUYA-1.2.1427-r1_ota.zip
Your Raspberry Pi should respond with the following:
loading: 'RC-OUYA-1.2.1427-r1_ota.zip'
sending: 'RC-OUYA-1.2.1427-r1_ota.zip'     80%
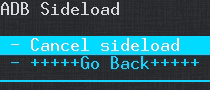
after the transfer is complete ClockWorkMOD will come to life and install the sideloaded file it just received.
Clearing all forms of cache.
This is probably the most critical step in a successful flash or OS load of an Ouya so pay attention!
We will need to wipe the system cache folder, clear user data, and finally remove the Dalvik cache that Google services would use. The reason we must do this is we need to clear any garbage that the previous OS left behind on the Android OS and make way for the new Lineage load for it to properly set up our user profile. So let's begin!
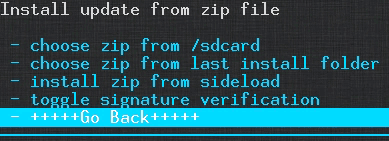
Since we are all done processing zip files and flashing our image to the Ouya we can arrow down to +++++Go Back+++++.
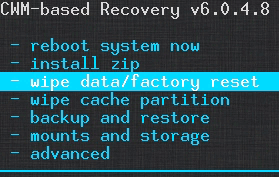
At the main menu of ClockWorkMOD, we're going to narrow it down to wipe data/factory reset and press enter.
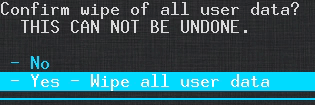
Arrow down to Yes and press enter. The Ouya will go to work clearing all non-essential data from the user folders. After it is complete it will dump you back to the main menu.
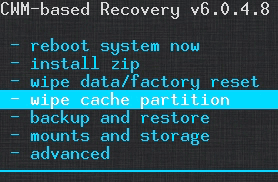
Arrow down to wipe the cache partition and press enter.
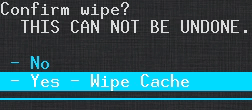
Arrow down to Yes and press enter. The Ouya will then empty its cache partition and dump you back to the main menu.
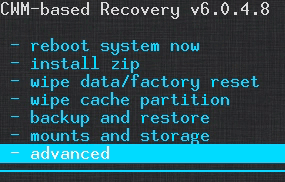
Arrow down to advanced and press enter.
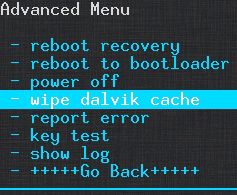
Within the advanced menu, we are going to narrow it down to wipe Dalvik cache and press enter.
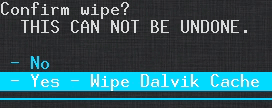
Once again it will ask for confirmation. Arrow down to Yes and press enter. The system will go to work and remove any of the cache files the Google Service may use.
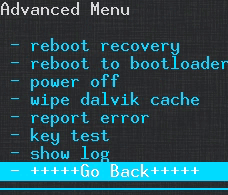
Arrow all the way down to +++++Go Back+++++ and press enter.
Arrow over to reboot the system now and press enter.
Other questions:
S, in the previous tutorial on firmware recovery you mentioned that you could just ADB push the file to /sdcard/ and then load it from there. Why go sideload all of the sudden.
We found out from testing that if you leave anything on the /sdcard/ partition the firmware zip file doesn't completely scrub the Ouya. It does replace the OS partition and bootloader partitions but it leaves the recovery partition alone. This is why we have now switched over to the sideloading method when it comes to clearing the firmware off of your Ouya.
Final thoughts:
We hope that you found our Tutorials useful in restoring your Ouya.
 This tutorial is a part of a series on how to ADB Lineage with a Raspberry Pi.
Don't die.
And may server protect you.
+++END OF LINE