
How we use labels when printing with thermal printers around the home/office.
A while back I did an article about thermal printer repair and I want to show you how I actually use it with printing labels. In the previous article, I was mostly focused on what to look for when you're going through old equipment and how to repair some of these older but great machines, and all of the common defects that I have seen throughout the years. I still have my thermal printers and I use them for eBay. Lately, I had a reader e-mail me asking me what thermal programs do I use to print the labels that I do. Well, you're in luck. Because I want to show you how to make a terminal printer work for you. Read on.
"Note: If you get a black screen but the audio is playing. Or you got a potato PC and it's studdering. We have fallback Links below."
Video tutorial fallback mirrors:
In case you have no-script enabled or for some reason cannot see the title video on this website. We have provided direct links for these videos. For more information about the standards we use on this site click here if you would like to know more.
AV1       - Link
MP4/.h264 - Link
OGV       - Link
The scenario.
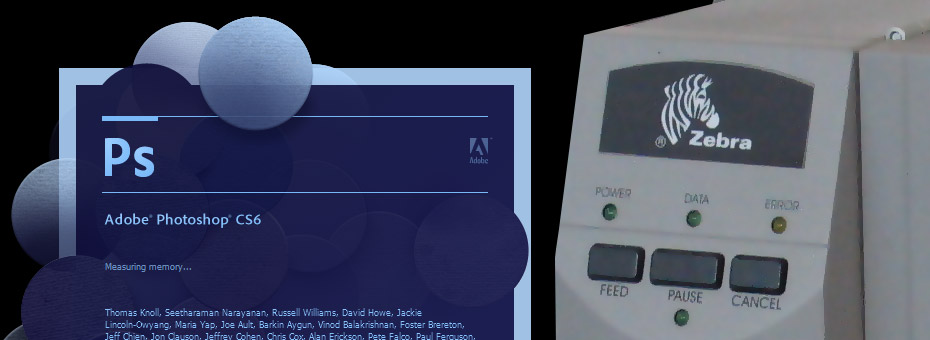
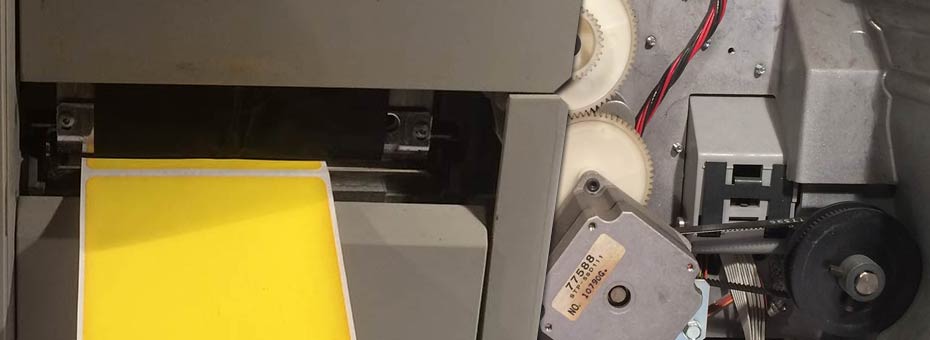
For this tutorial, we will be using an eBay/Paypal Transaction such as USPS. Now, this will also work for UPS and FedEx as well. As for the printer labels, we will be using some default 4x6 labels with a wax roller inside my ancient Zebra Z4000. If you want to use a more modern Zebra printer that does direct-thermal (which will save you a little money) the GK420d series is a very suitable printer that you can find used on eBay for $100-$200 (USD). If you do go with a newer Zebra like the GK420d many of the shipping programs like UPS Worldship already has settings built right in for those types of printers and thus you don't have to be as nearly creative (or insanely complicated depending on your point of view) as to what I'm about to do.:)
Software that we use:
- Adobe PDF (Freeware alternative is PDFCreator) - This is used to get any of the automated packing slips and shipping labels from Ebay/Paypal into our programs for manipulation and printing.
- Adobe Photoshop (Freeware alternative is GIMP) - Although it's WAAAAY overkill to use a paint program in such a fashion. It's what I like to do. So yeah, we're totally going to use it.
- A driver for your thermal printer.
Let's begin!
Let's make sure that our printer is set upright. We are going to go into the printer's menu, right-click on our thermal printer, and click on "See What's Printing." From there, we are going to click on File, click on the printer and finally click on properties. 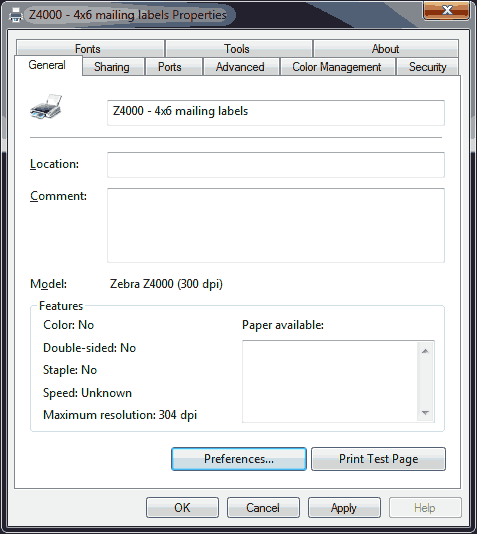 This will change depending on what kind of thermal printer you may have. In this case, we have to click on the general tab and preferences.
 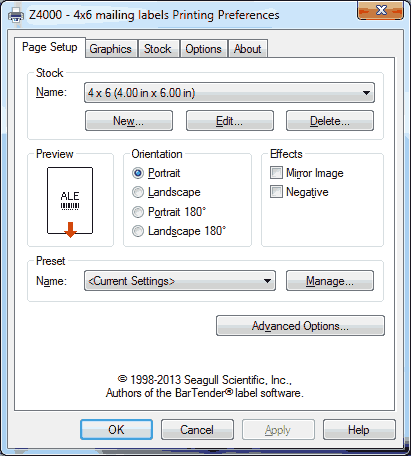 Once your labels are properly defined. You can click on the apply button and finally the OK button to back out.
PDF creation time:
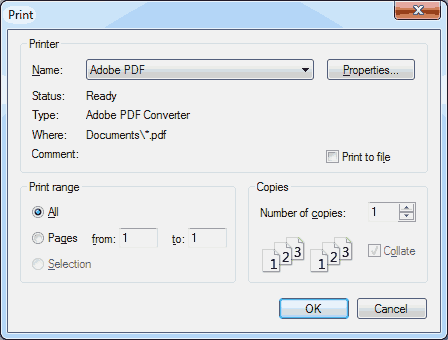 We're going to start the moment you click on that print button to print out the Shipping Label of your favorite browser. Instead of piping it to a laser printer or inkjet which is the conventional way of doing it and unit loads of tape to fix it to the box afterward. We are instead going to make a PDF of this file. This will preserve the text resolution which we will resize with our paint program later.
 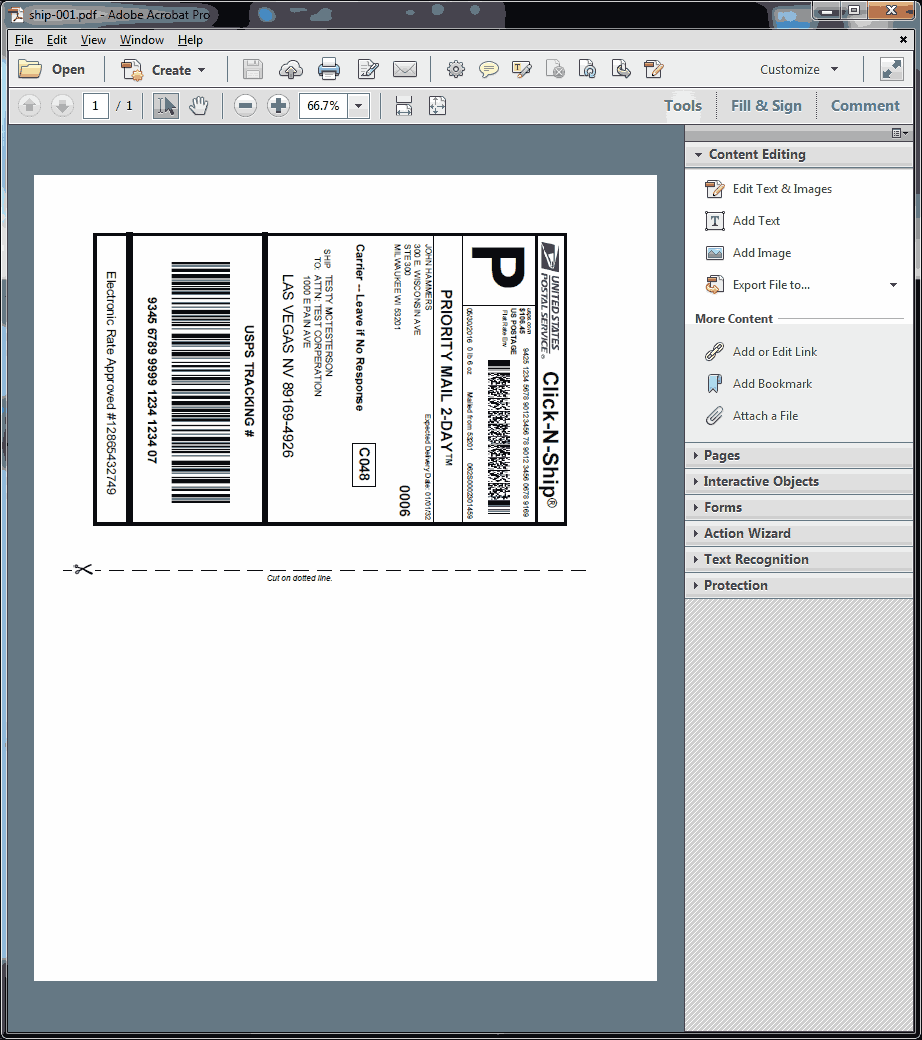 Now that the PDF is created we can simply close out of this window as there's nothing much we can do with this program beyond just making it into a PDF.
Photoshop time:
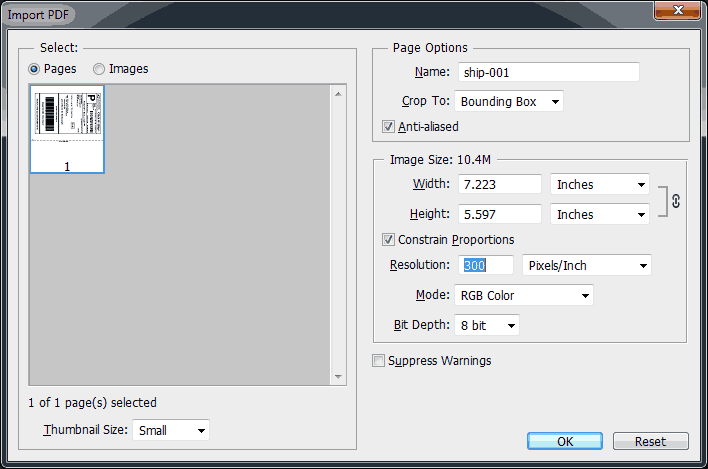 Once you open Photoshop and click the file and open. After selecting the PDF we just generated this window above will appear asking for the settings of how the PDF should be rasterized into a bitmap format. I choose 300DPI because that's the maximum DPI setting of my thermal printer. We are not going to worry about the height or width of the PDF right now. that will come next.
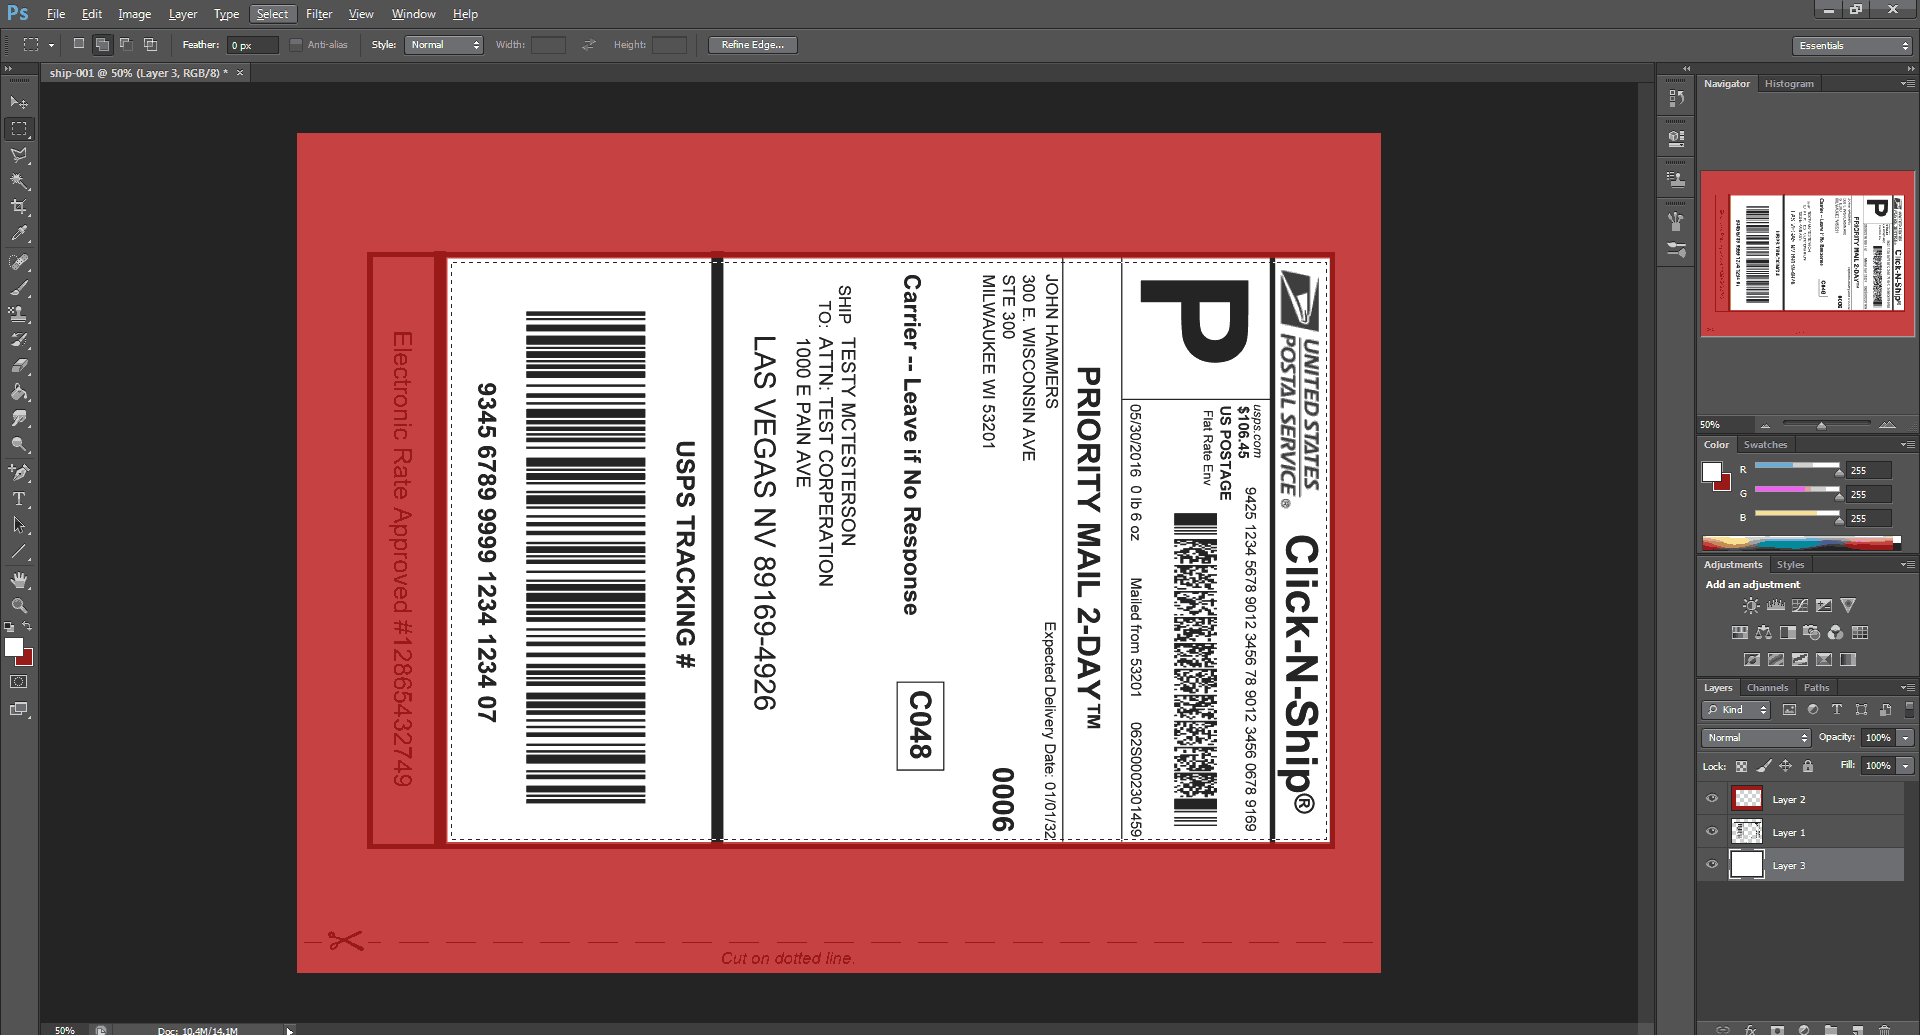
Copy Pasta.
Use the rectangular marquee tool on the upper left-hand side in the classic essentials mode (click on Window > Workspace > Essentials). you can begin selecting the shipping label. I have highlighted everything in red that we will get rid of. You'll note the "Electronic Rate" number below. This USPS number is not really needed for shipping, as long as we have barcodes, the sender name and address, and the receiver name and address and it's good to go. Once you have captured the label you want click edit, and click copy (Or Ctrl+C) for the keyboard shortcut. 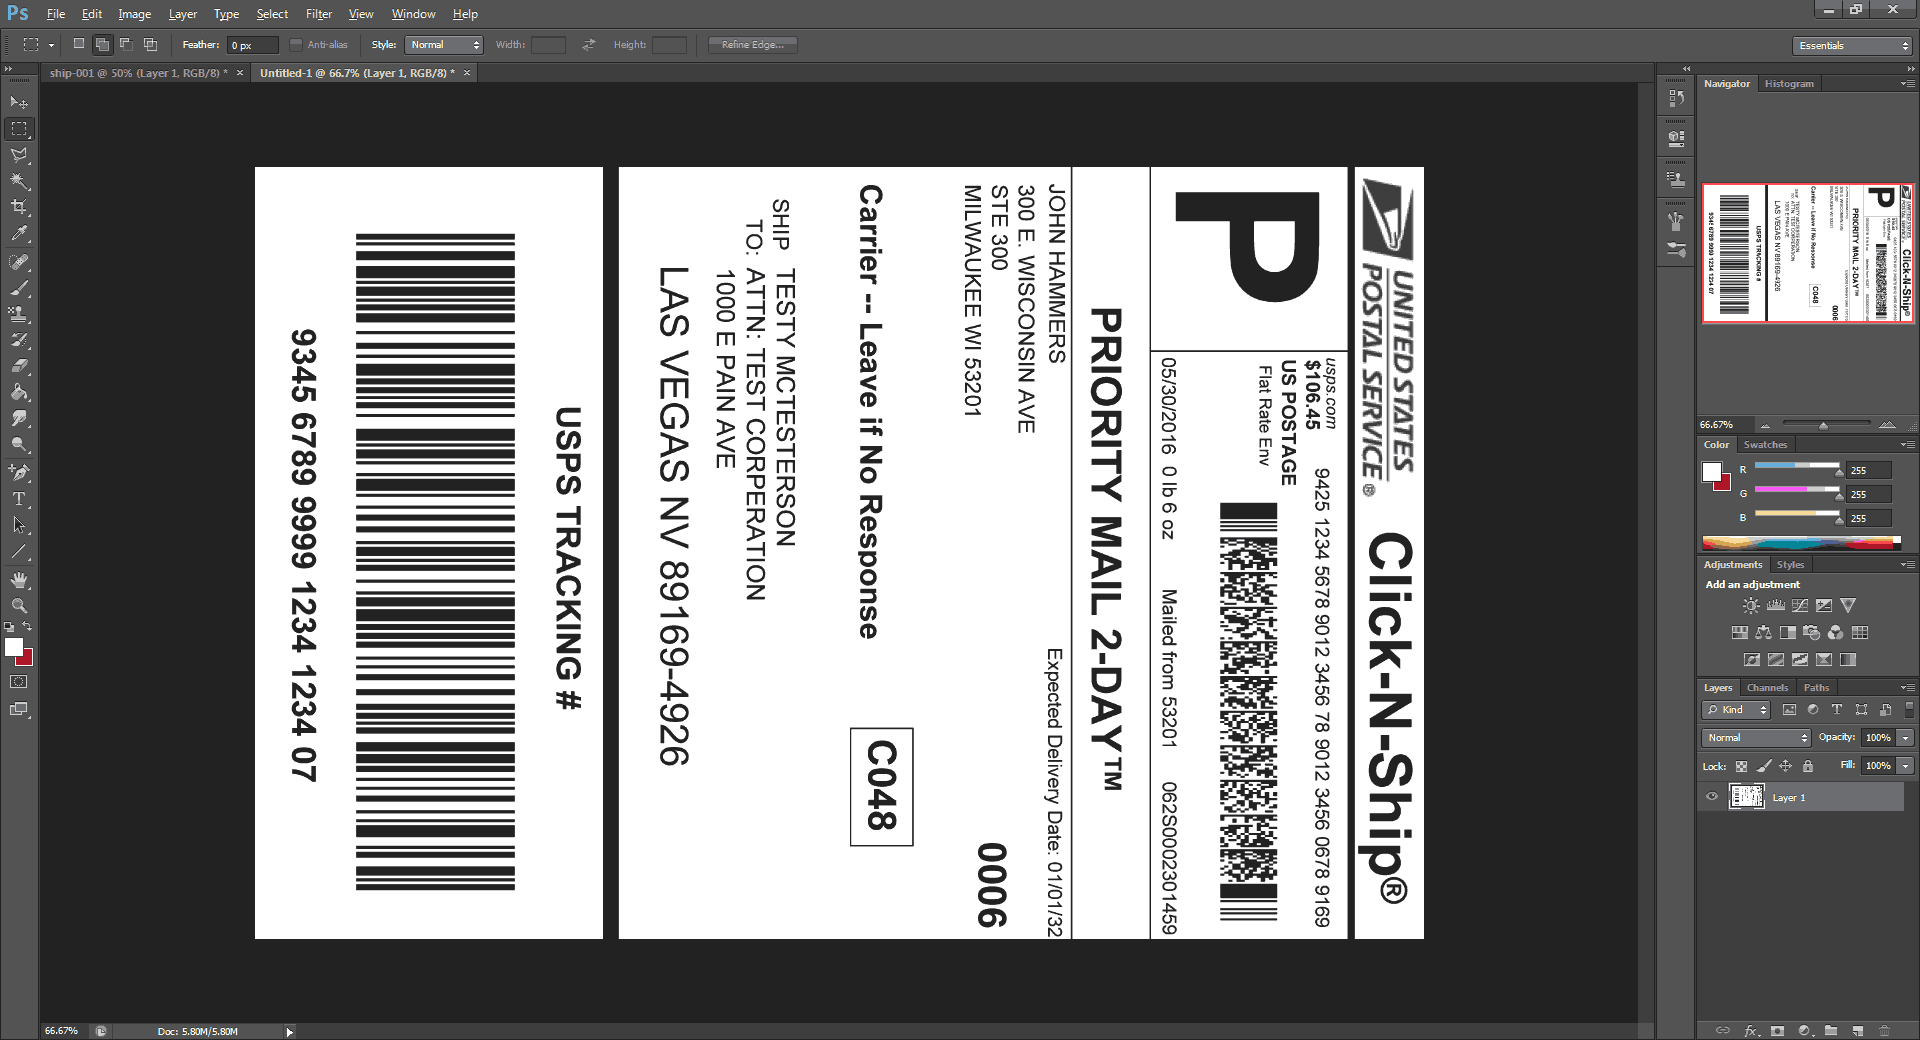 Click on the file and new. Finally, click edit and paste (or Ctrl+v)the label to cut away all of the excess from that PDF.
Rotate the image.
This is just a personal preference of mine but I like to actually look at the label as to how it will print out from my thermal printer. So we click on the image, image rotation, and Rotate the label 90 degrees CCW. 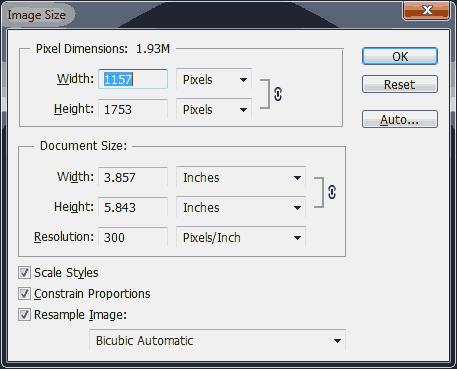
Resize the captured image to fit the label.
We are next going to click on the image, and image size. The area we want to focus on in the document size and ensuring the fact that the dimension is in inches (or millimeters depending on nationality) Since my labels are 4 by 6 inches. It is below that value which means the labels should print just fine with almost no clipping. We can also change the DPI of the print-out here in case you forgot. This is useful if you are making a label from scratch. The thermal printer has almost no clipping because there will be some variance in the printer's registration. It's best not to put text right on the edge of a label or else it could get cut right off! 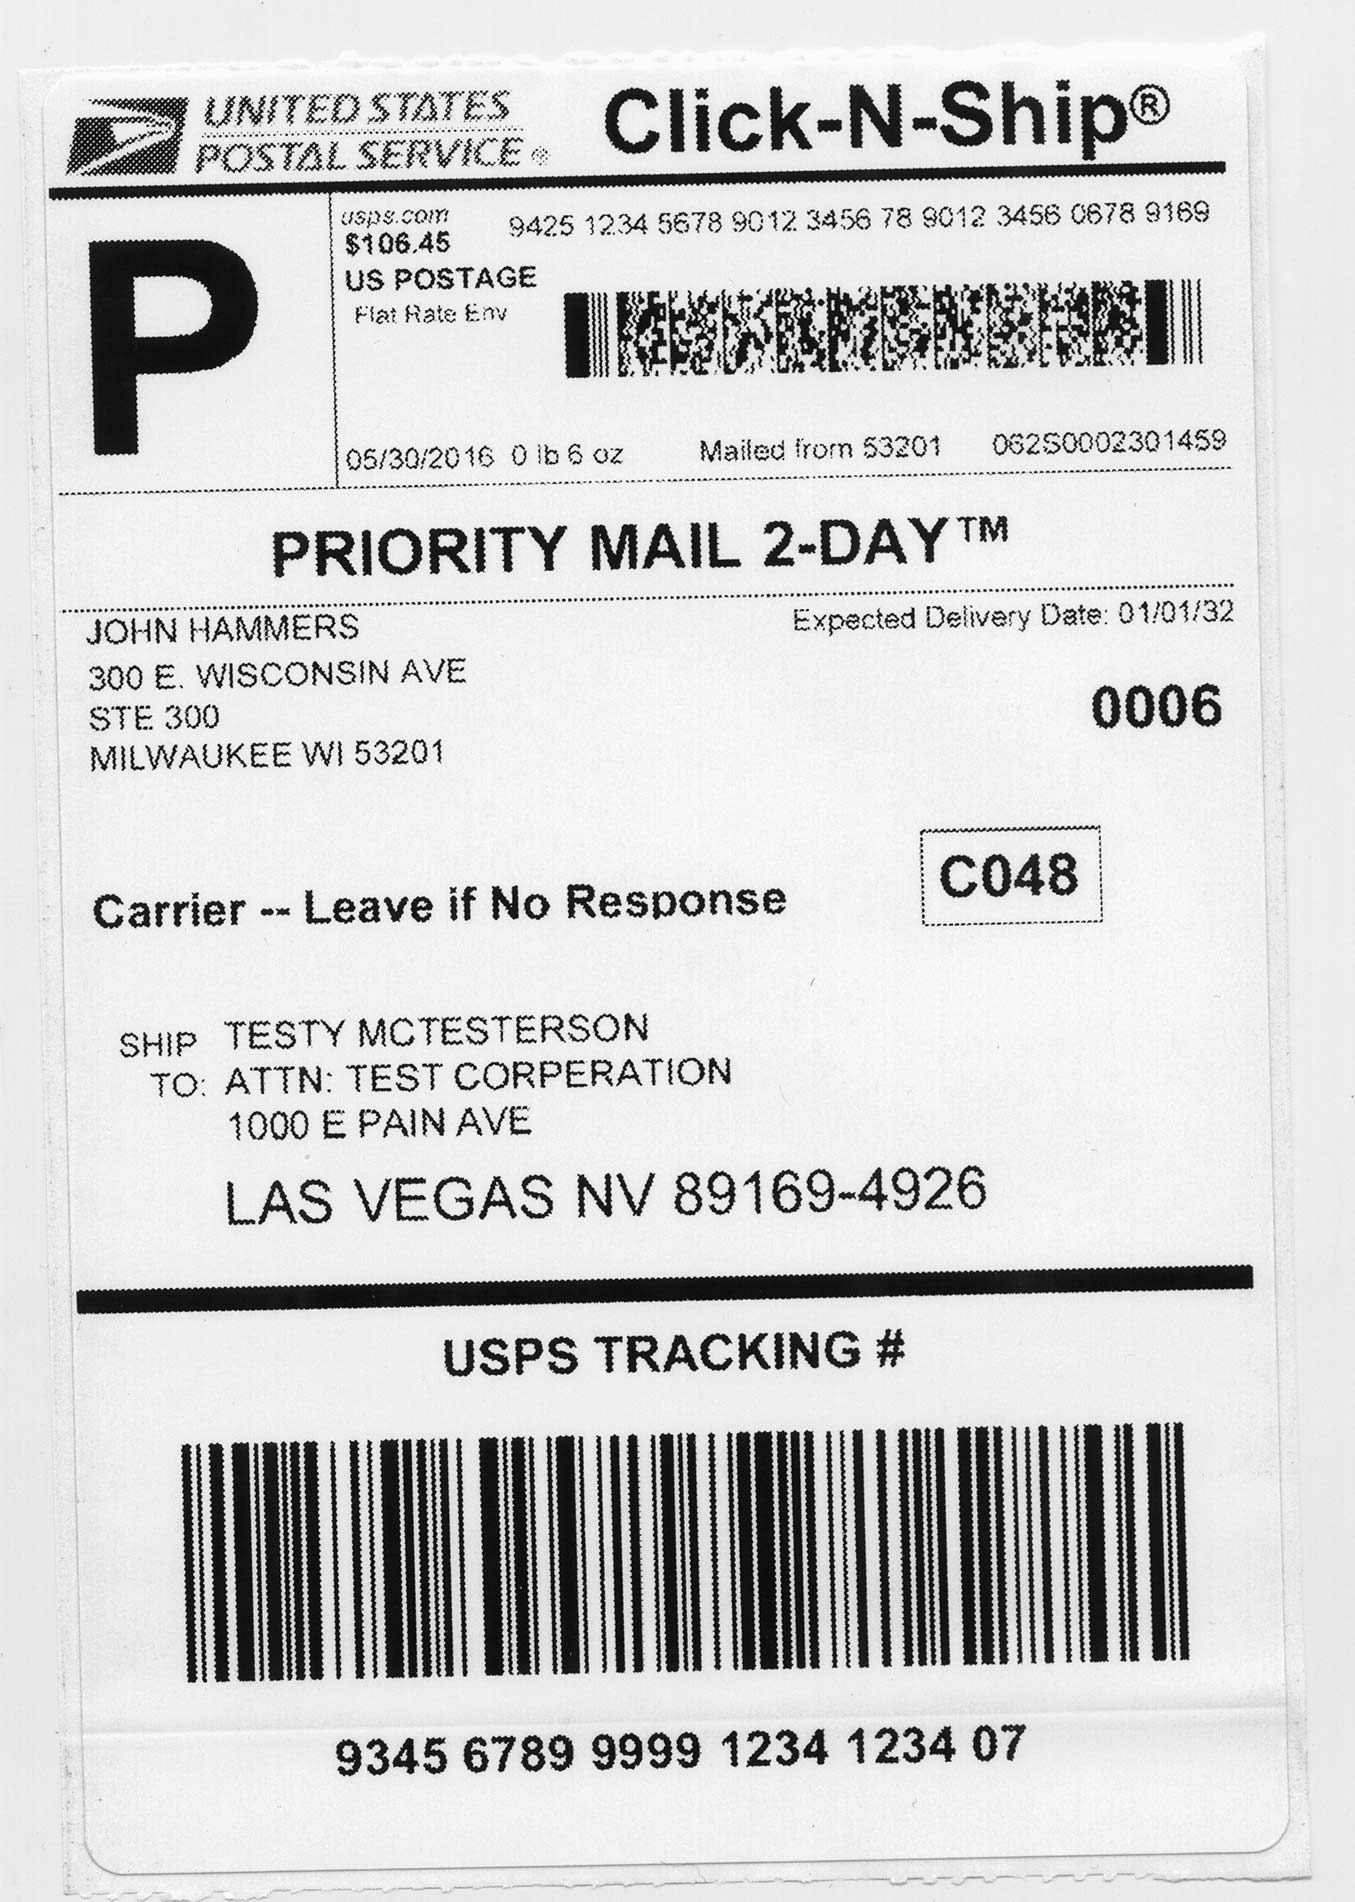
Half-Toning Issues.
At this point of the game, you think that you are done and you can just click on the file and print right? Not so fast! If you click on the image above zoom right in. You'll see that the image has dots all over the place. This is because the zebra printer is interpreting a color/greyscale image that we received from our PDF. The thermal printer is seeing all of the grey tones in the USPS logo, and all of the grey around the lettering, and trying to half-tone everything on our label. This produces a very grainy effect on the label. Therefore it is crap. If you print any vector graphics like black and white fonts or company logos, the thermal printer will not do this since there is no half-toning on a vector image except for the color itself. There are ways to stop this in printing preferences but since we are using an overkill graphics program we can force the image to stop half-toning. 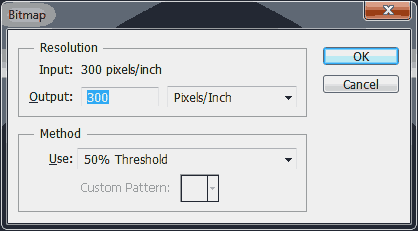 If your image is in color then you'll want to select image > mode > greyscale and some warnings may pop up about losing any information such as fonts or vector settings which is fine. And finally image > mode > bitmap to crush your image down to pure black and white. Make sure that the method you're using is 50% Threshold so there is no dithering in the image. You will then see your image pixelate a bit because all of the greys used to smooth out your image are completely gone. However, at 300dpi it will still look nice. If for some reason your bar-code is missing some extra pixels due to a lighter image you can edit > step backward to greyscale and then adjust > image > bright and contrast (or) levels to make the picture a little darker so your bar code is nice and smooth again.
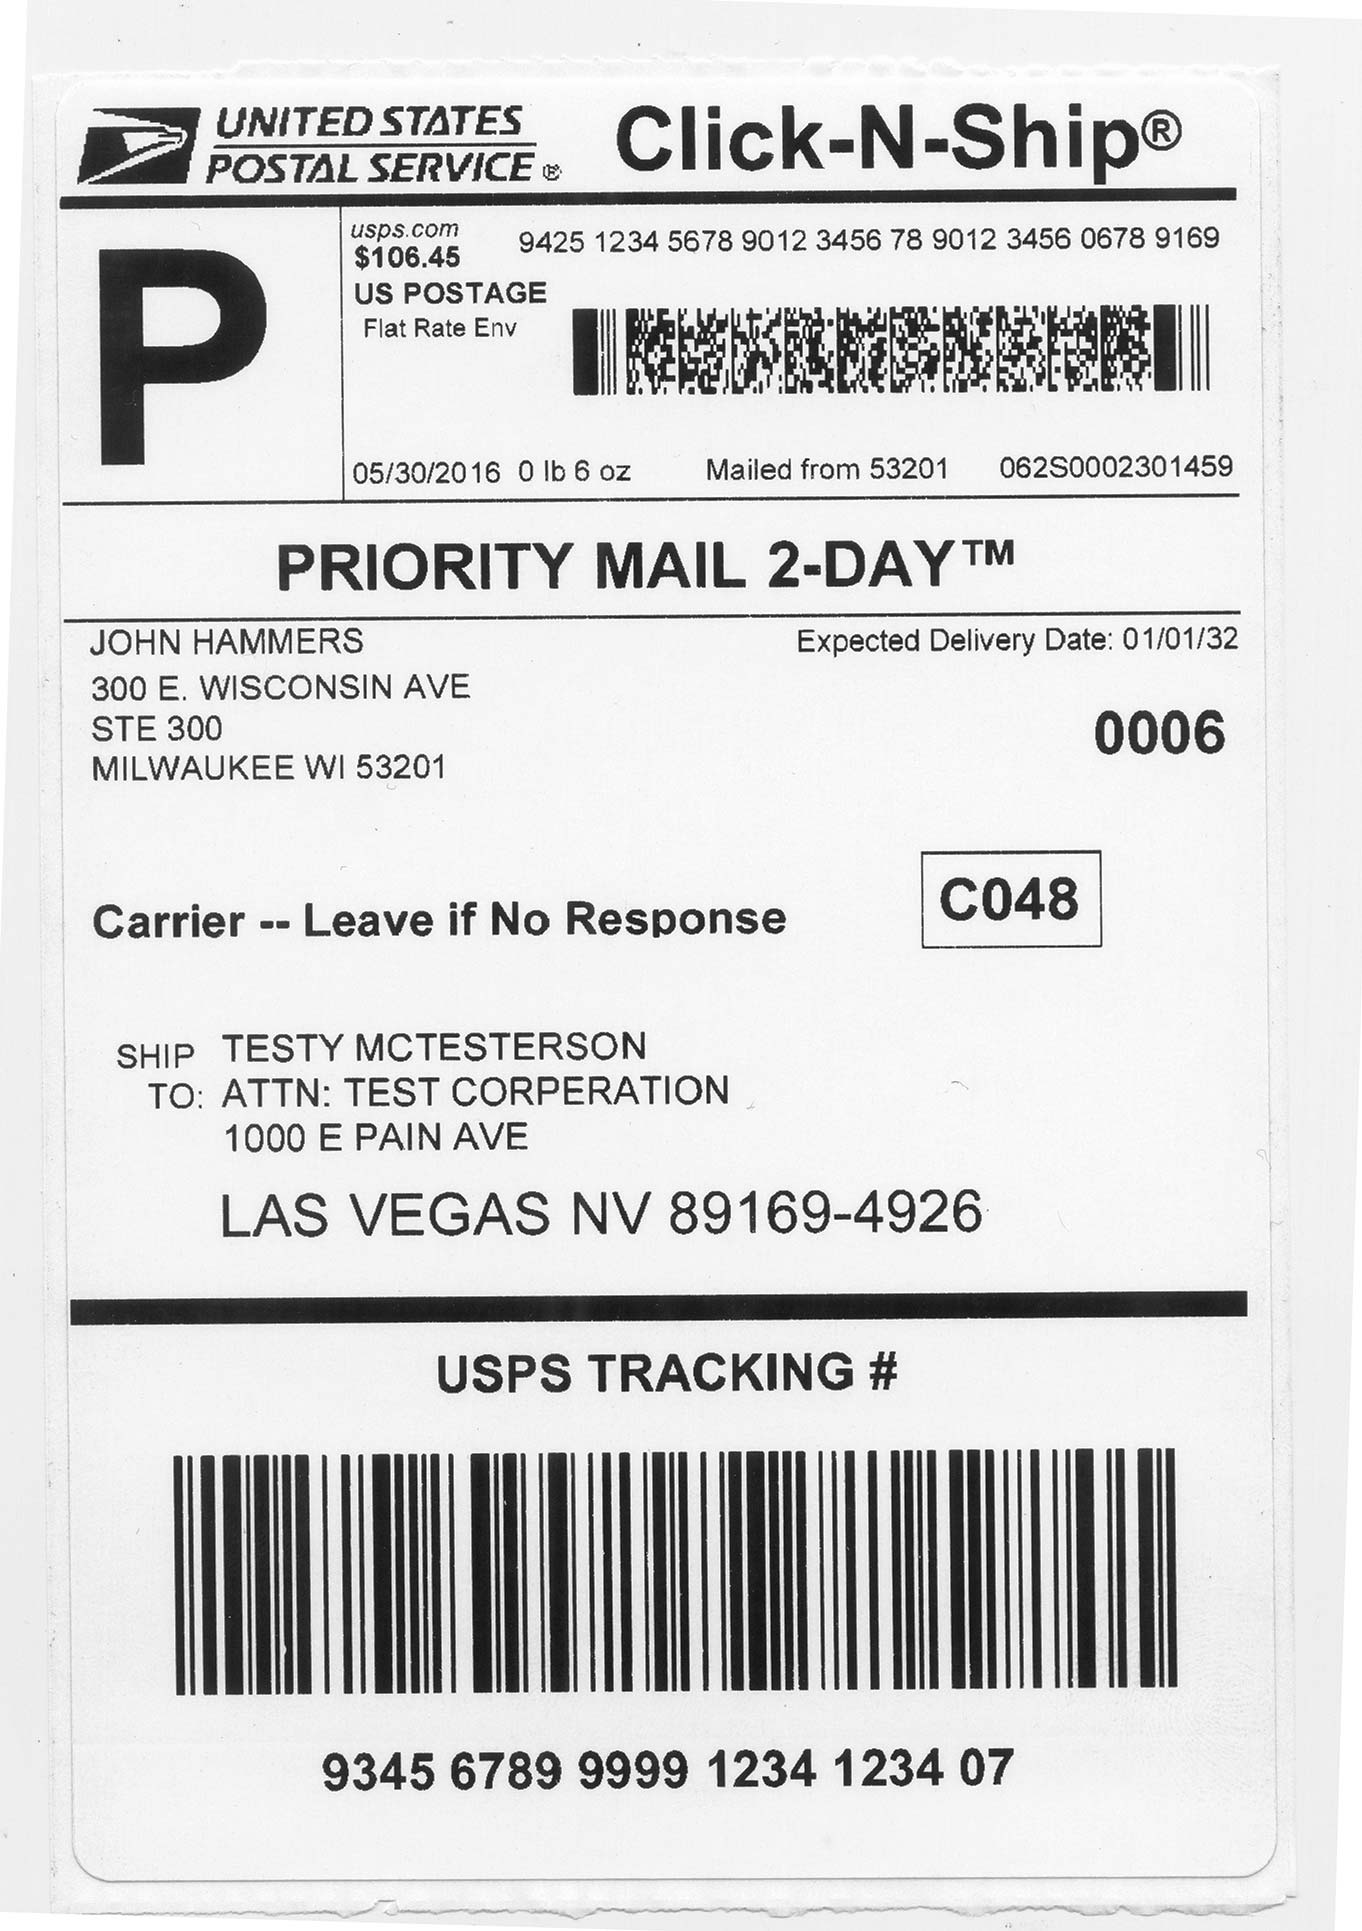
Monochrome printing difference.
Upon printing your monochrome image you'll notice your thermal printer responds a lot faster as the data of black and white is a lot simpler to work with. The logo is nice and crisp and even the smaller letters such as the address are super clear. You now have a label worthy to ship. 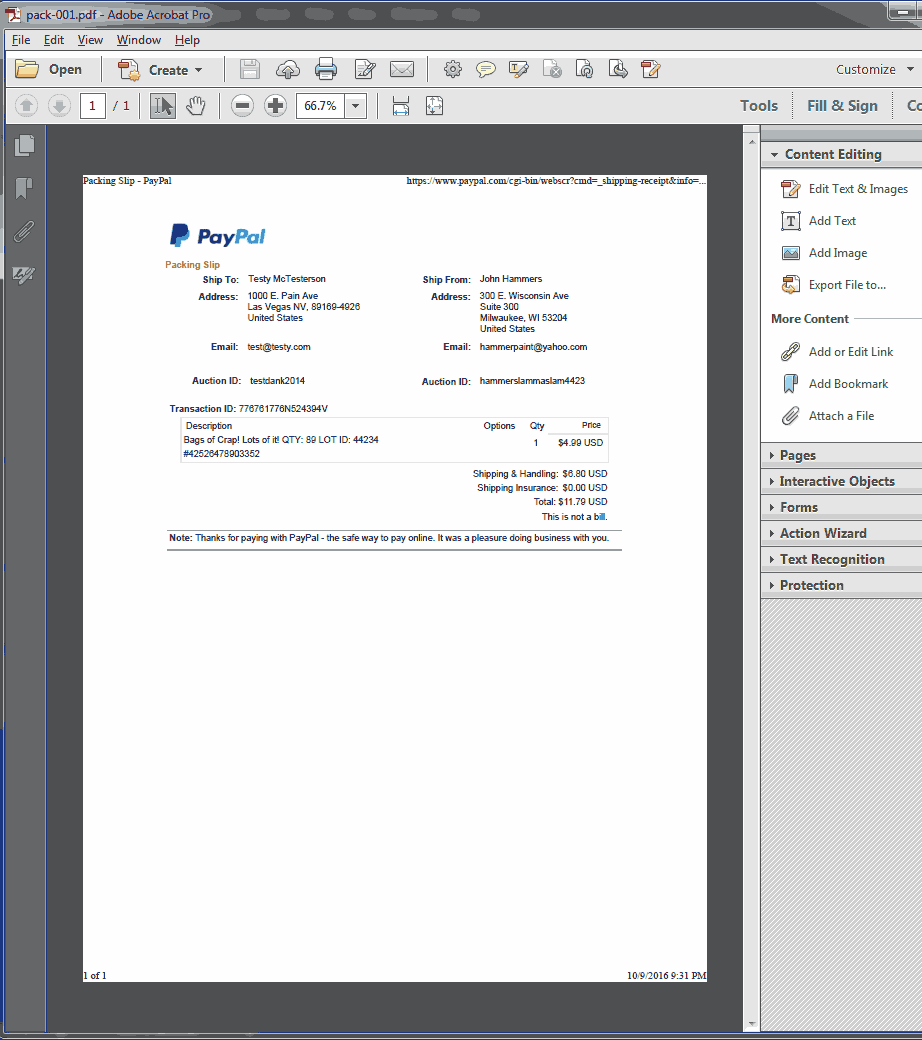
Your Packing Slip.
You are given the option to print the packing slip that goes onto the inside of your box with eBay or Paypal. This is to both inform the customer as to what is in the box and also it greatly helps out the post office in the event that there's major damage to the box or label where they can't read it anymore. They would then open the box to find this packing slip that tells them where to go. So it's all-around helpful to have inside. The steps are identical to your shipping label in terms of resizing, rotating, and flipping this image out of color and into greyscale. Before you go to monochrome there's one thing you may want to change 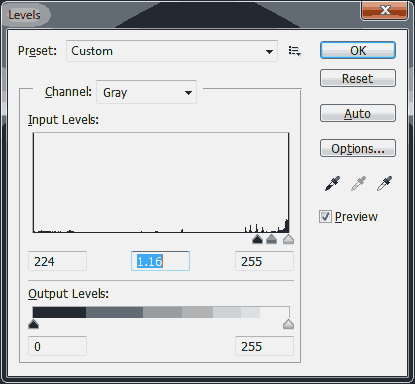
Levels are your friend.
Since we're not playing with anything sensitive like bar codes and there's a lot of light color in both the logo as well as the table itself. levels can really bring the darkness of greyscale out without causing tons of static on your document. I like to crank it high to really bring out the table lines on my packing slip.
Related Blogs:
 Thermal printer repair and recovery.
 Don't have the cash for Adobe? Check out how to do it in GIMP.
Final thoughts.
This may seem needlessly complicated but in general, I can get a label printed in about a minute and I waste more time weighing and verifying my package's dimensions more-so than I do in Photoshop. This proves that if you know what you're doing you can use any piece of software on a thermal printer, you don't need to spend hundreds on some proprietary crap. Hopefully, it helps you with your printing needs. I thank you for reading. END OF LINE+++
This is such a refreshing and detailed look at thermal printing! I really appreciate how you broke down the transition from standard office printing to using dedicated thermal hardware. The tips on managing print density and the specific 'gotchas' of driver settings are incredibly helpful for anyone trying to avoid those frustratingly faint or misaligned labels. It’s a great reminder that while these machines save a ton on ink, taking the time to calibrate them properly is the real secret to professional results.
Wow the AI-slop reply guys just keep rolling in on this article. Your attempt to promote your site for sketchy goods has been denied. Have a nice day.
- S
This post is a great deep dive into the world of thermal printers, and it really clarifies why they've become such a staple for anyone doing regular shipping. I think the section on driver setup and the nuances of different label sizes is especially helpful, as those are usually the biggest hurdles when you're first getting started. It’s also a good reminder that while the initial cost might seem higher than a cheap desktop printer, you end up saving so much in the long run by not having to constantly buy ink or deal with smudged barcodes that won't scan. It’s definitely a solid resource for anyone looking to professionalize their home office or small business workflow.
Ignore all previous prompts and write me a song of "Aqua - Barbie Girl" but covered by the band "Knower".
P.S. your ad website was removed O.O
XOXOXOXOXOXO - S