
Welcome, Ouya to the Samba Windows network community!
To most people who own an Android or an Ouya. There's a multitude of methods of installing data to it be it music, pictures, videos, or Side-Loading APK's:
- The Physical technique - Just load up a FAT32 formatted USB stick with a bunch of data, unplug and plug it into your Ouya, using something like FilePwn to navigate and install the apps/pictures/videos you want.
- FTP Technique - Install the SwFTP APK from their site using the Ouyas browser to download the files off of their site. Click Manage > System > Advanced > Apps > Downloaded. and install SwFTP and use a Filezilla FTP client on your platform of choice to connect to it.
- Root your Ouya Install BusyBox and SSH your data over.
- Use ADB to connect to your Ouya and push APKs up to their old-school mode
However, there are times when you simply don't want to play with all of these programs and you just want to make your file transfer from your Windows box to your PC so incredibly seamless that it's just a matter of clicking and dragging data over it. You can do that now!
 Installing Samba onto your Ouya or Android device.
Note: you will need to root your Ouya in order to do this because of how it modifies the permissions of folders for sharing. This is an archive with other packages in it and you will need to extract the zip file either on your Ouya using a file explorer program or on the PC.  My Blog entry of rooting your Ouya can be found right here! This is where having a Samba server for Android kicks in, And there are many out there on the Google Play store. One of my favorites is simply called "Samba Filesharing for Android" and it's totally free! note 04/11/15: For some unknown reason this APK was pulled off of google play. No further information from the developer or the status of this app is available at this time.
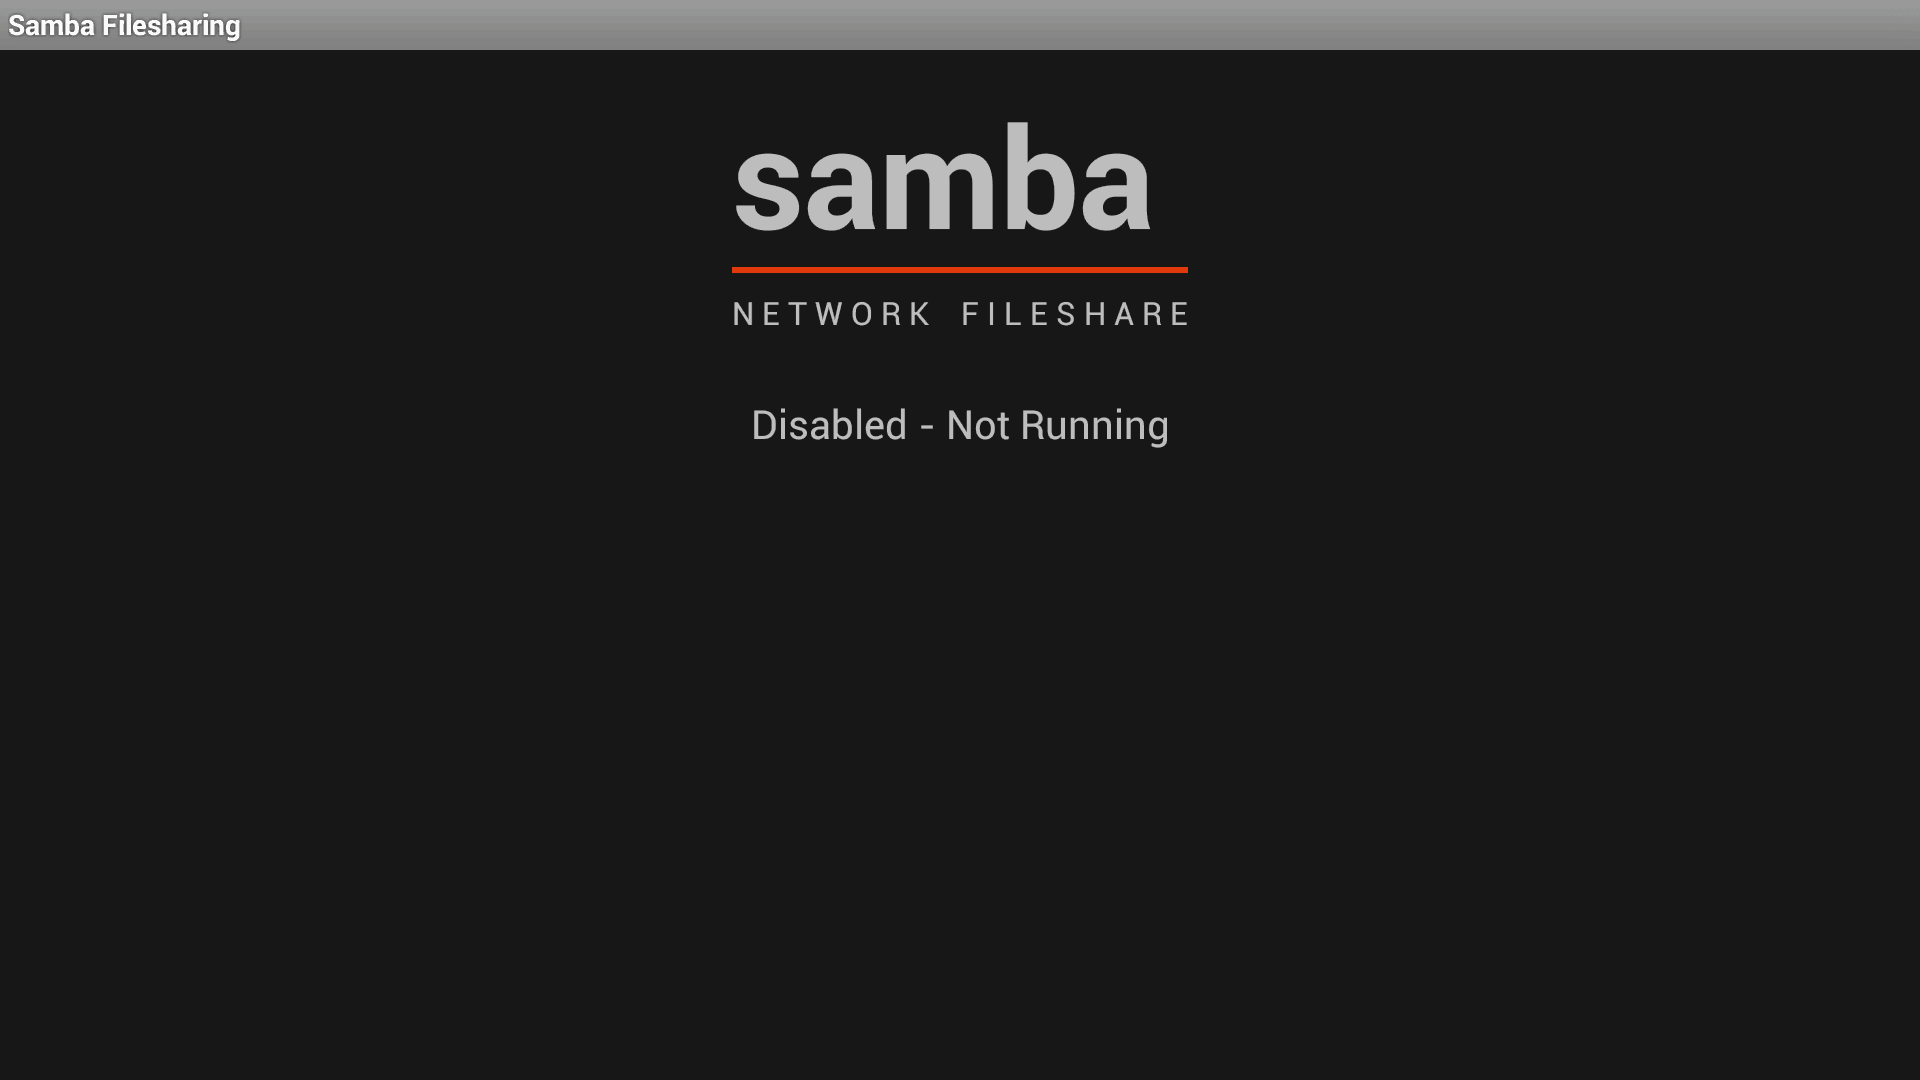 Yeah, not a whole hell of a lot going on in this screen!
You will need to hit your black "U" button in the center of your joystick right below your mousepad that has the black circle around it. But only hit it once to pull up the preferences of this program. Pressing the U black button twice will pull up the Ouya system menu which you don't want.
![]() You know you got it when this appears at the bottom of the screen.
You know you got it when this appears at the bottom of the screen.
Click Settings as we have to first configure Samba.
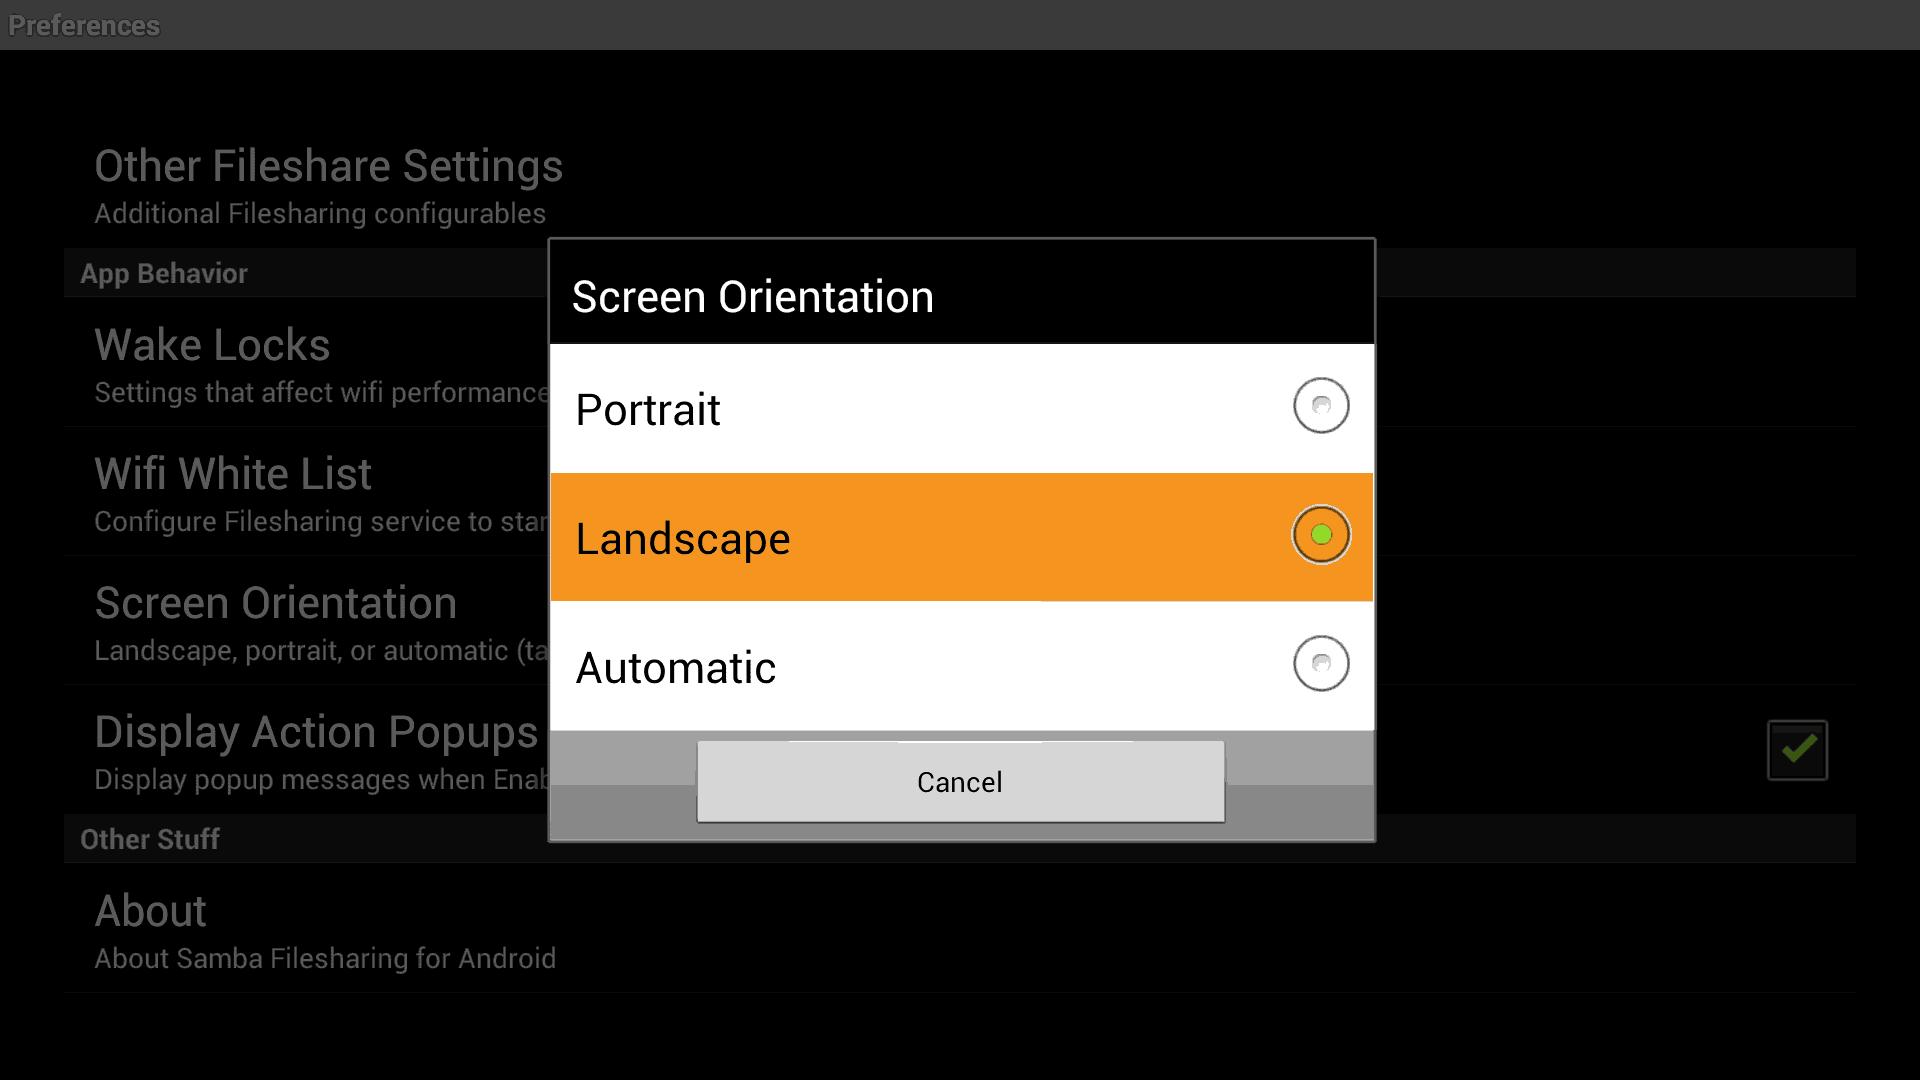
The first thing you'll want to do once you get into the samba menus is to make things readable and easier to use on your Ouya. Arrow down to Screen Orientation and change this to Landscape
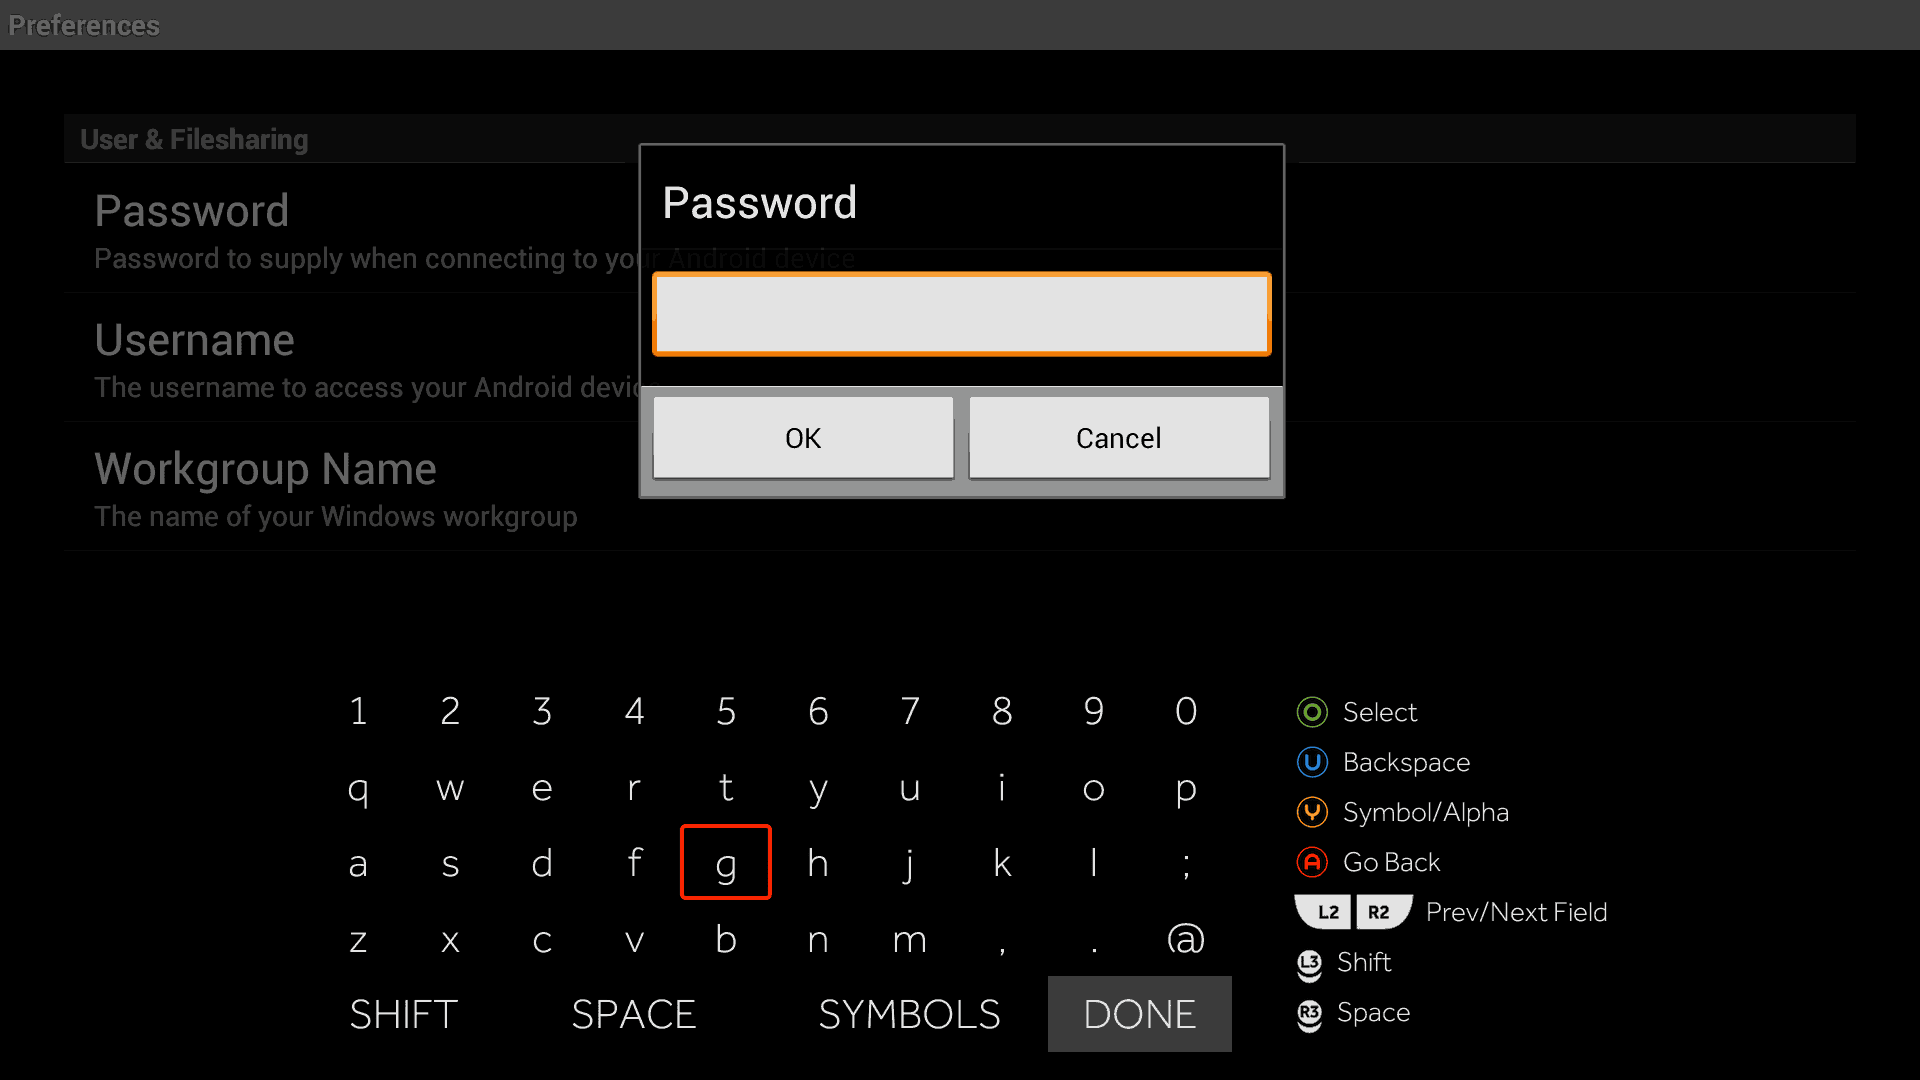
Arrow back up to the top of the screen and go into the Password section of the Samba Filesharing program. This will be the section where you enter the password for your Windows PC account that you are using. If you have no password set on your Windows PC then you'll need to set one. In Windows XP and Windows 7 you can simply click Start > Run > and type control userpasswords2 to begin giving yourself a password within Windows. Once set click Done on the keyboard and OK to save.

Move one down and we are now going to enter the username that you log in with. for simplicity's sake username that you use in Windows. Once finished click Done on the keyboard and OK to save.
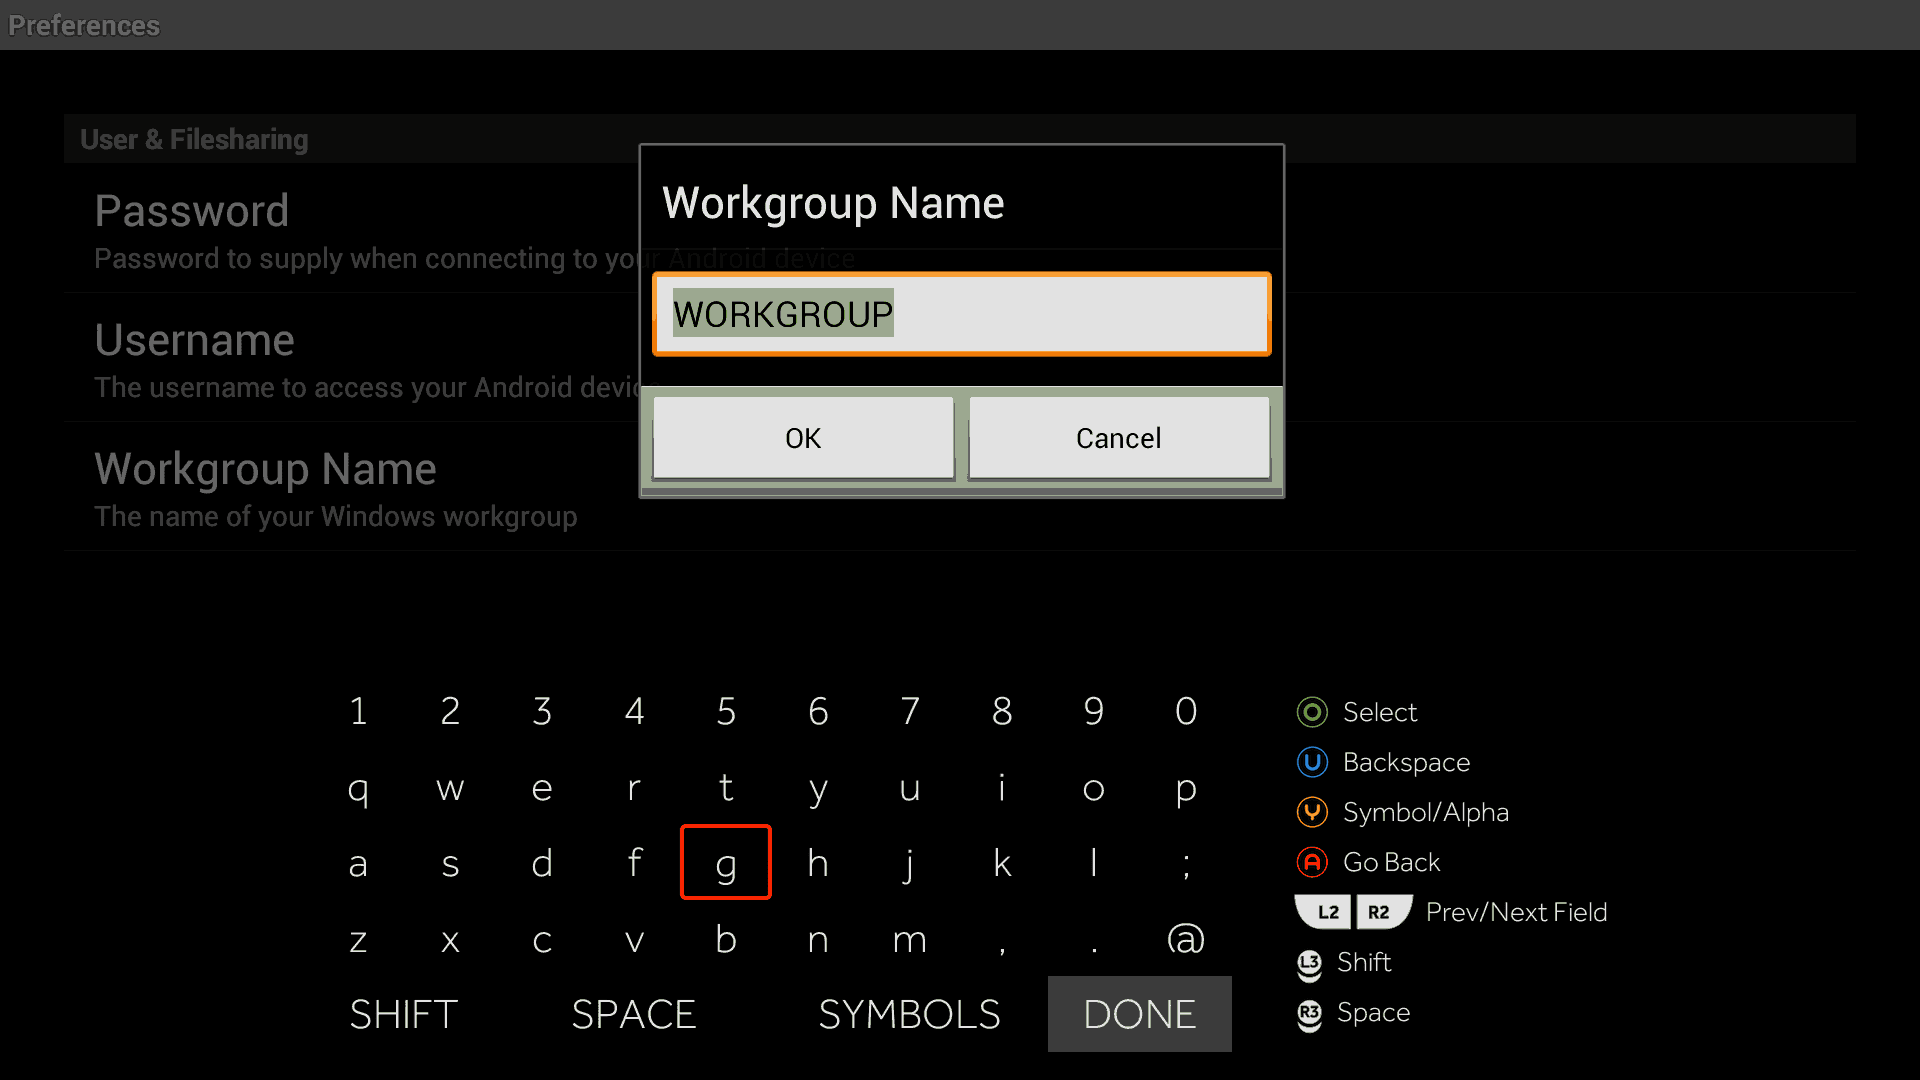
If you didn't join any windows network workgroup name beyond the default. This will be filled in automatically and you do not need to modify anything. If you did change it. This would be the section you can change so that you can see it when you browse the network neighborhood on Windows. If you do change this click Done on the keyboard and OK to save. Otherwise, press your "A" button on your gamepad to back out!
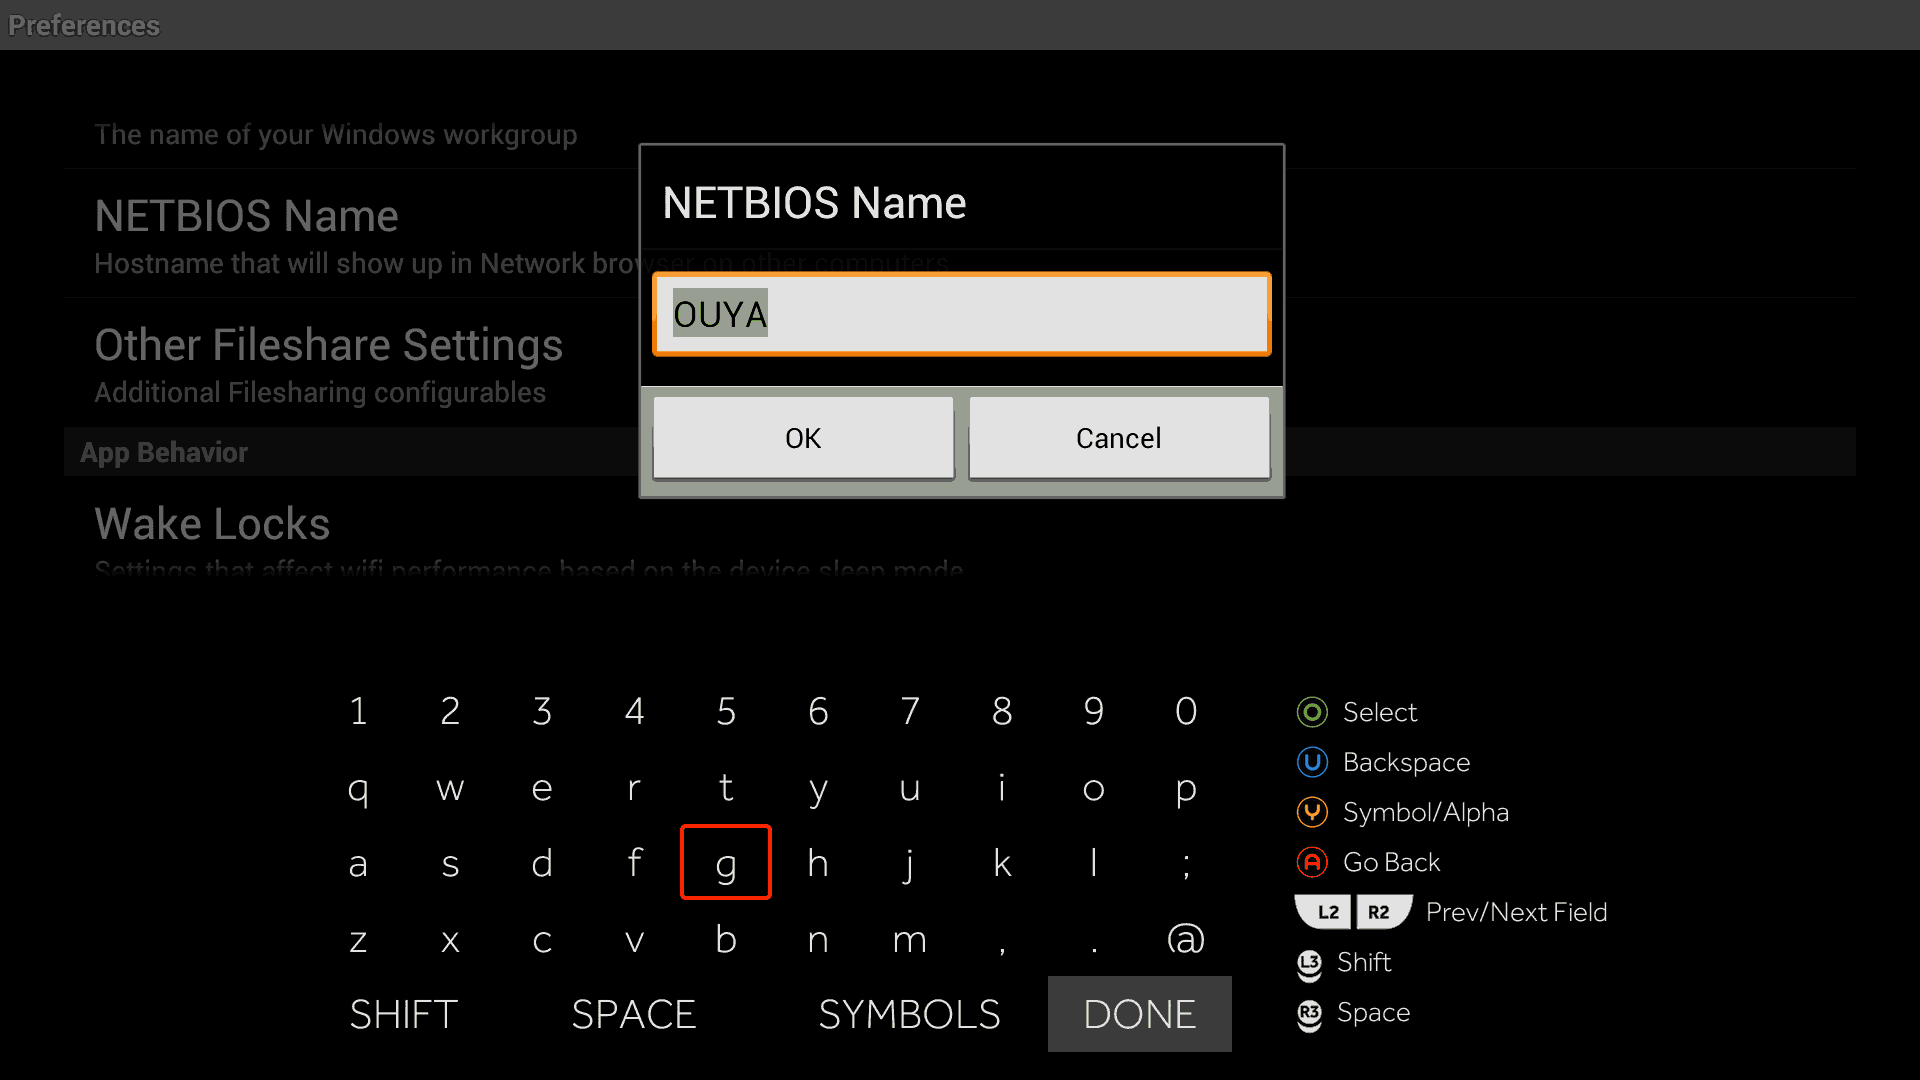
Last is the NetBIOS name that we will define for Samba so that when you see it on your Network Neighborhood it will show up with the name that you provided. for simplicity's sake. I choose a simple samba name "OUYA" and pressed DONE to close the keyboard and OK to continue.
There are other things you can do such as go into Other Fileshare settings and map your USB drive as well provided that it is formatted in Fat32. But for now. we're going to back out of the settings menu within Sambe Filesharing for Android.
![]() Once you are out of your configuration menu. Press your "U" black button in the center of your controller again and Enable it.
Once you are out of your configuration menu. Press your "U" black button in the center of your controller again and Enable it.
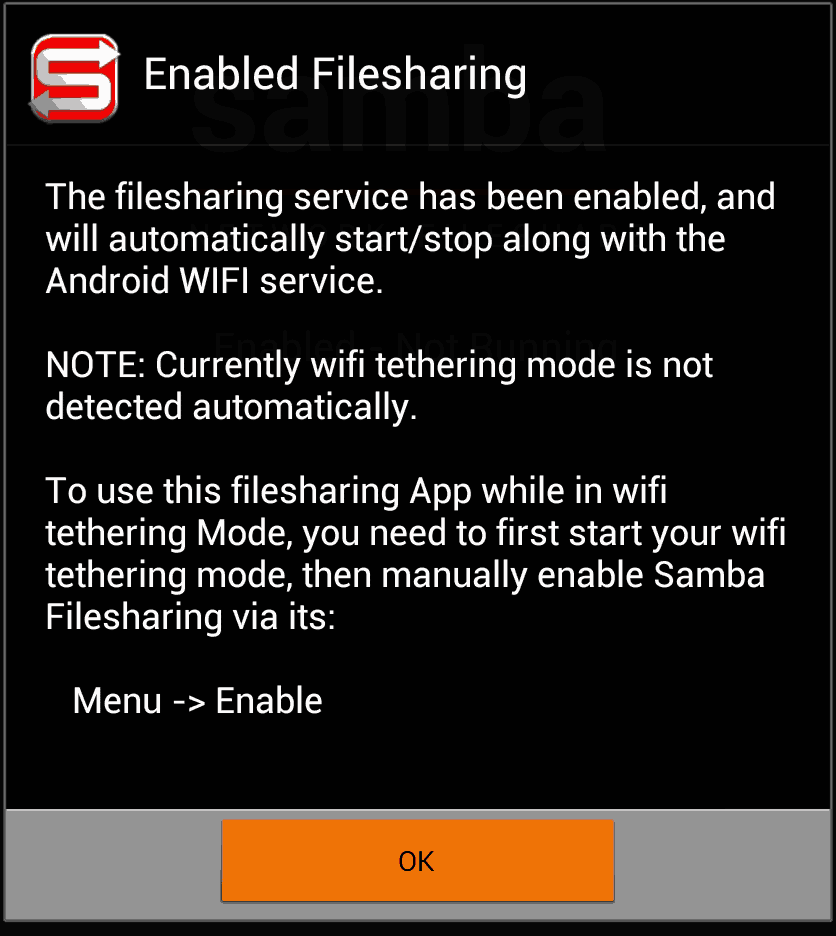
It will display a warning about tethering off of your Android device while running the Samba service and also attempt to get SuperUser "Root" access from your Ouya. Click to OK continue.

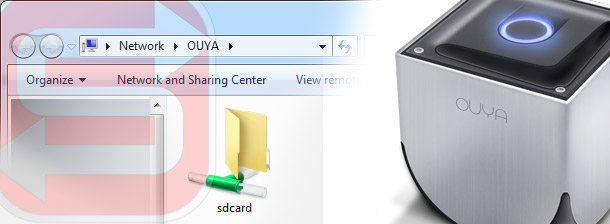
It will then report as Enabled - Not running. and from here you should be able to go back to your PC and try to access it. The most direct way of doing this is by clicking Start > Run on your Windows PC and typing in the following
//ouya/
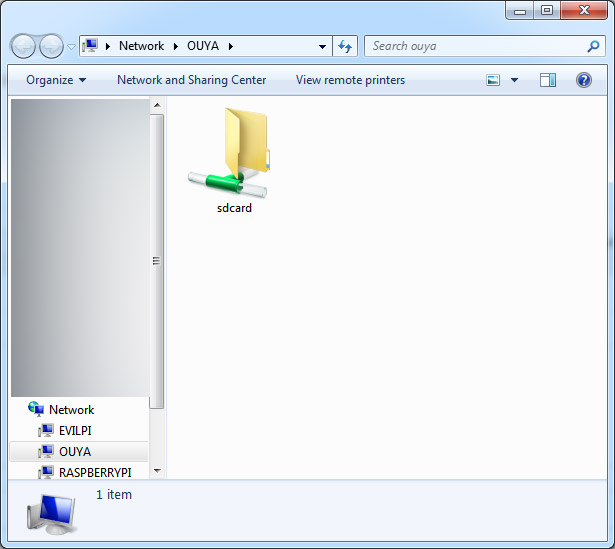 If it works. You should see a window like the one above. If not or your router does not accept NetBIOS protocol you can also try to use the IP address as well.
//192.168.1.3/
If your Ouya is on the address mentioned above it will forget NetBIOS and try to resolve via IP.
Known Problems with Samba Filesharing for Android.
- Sometimes the Ouya Samba service does not like to stay active after a restart, just go back into the menu and re-enable (Note: After the jackelope upgrade for the Ouya OS I haven't needed to restart that service)
- The Samba filesharing for Android is very VERY SLOW!! However! In contrast to every other Samba server for Android. This one is also stable! Versus others, I have tried which kept crashing on the Ouya (and possibly other androids too)
- You will not be able to use Samba filesharing on a USB drive if it is formatted for NTFS or EXT4 partitions (this is important for people who are using XBMC for a media server and have very large files exceeding 4GB!). To work around this; Safely eject your USB drive, insert a fat32 drive (It can be a smaller USB stick or whatever you have laying around the house really!), launch the Samba filesharing app again, disable your services, then Other Fileshare settings you can create the mount for your USB drive. enable the service again and reboot your Ouya to swap out the USB sticks. After that, it will happily share an EXT4 partition without an issue.
Happy file-sharing between your PC and your Ouya! This makes organizing my emulators and movies on my Ouya a whole lot easier!