
DNLA NAS server with the help of MiniDLNA for your Raspberry Pi.
MiniDLNA is another one of those articles where I had to go bouncing around between various sites to truly get all of the details about how to setup and maintain MiniDLNA properly. For those who do not know what it is. DLNA stands for "Digital Network Living Alliance" and it's a protocol used in many consoles, smartTV's even phones as a standardized protocol that they can all communicate on (depending on video and encoder). The Raspberry Pi is perfect for such a project as it's low power and can put out an 'okay' level of bandwidth can can handle most 720p videos and even some 1080p videos that are encoded well. This is also great if you want to have a constant library of music and pictures that you would like to share with your entire LAN for anyone in your house to view or play.
About MiniDLNA
MiniDLNA is a lightweight player in comparison to other DLNA players such as MediaTomb taking the least amount of memory to operate it which is very important on devices such as the Raspberry Pi. However it lacks the web administrative functionality that MediaTomb has resulting in you the user having to edit files manually. Note: I understand there is many articles about this topic. However these are just my personal notes about how it all works so I don't have to keep searching over and over again. If it helps you out then awesome-sauce!
Installation
We are going to be using Raspbian which is a variant of the Debian breed of linux for the Raspberry Pi. To begin we perform the basics such as making sure all of our libraries are up to date so we don't get any conflicts when we download MiniDLNA for it.
sudo apt-get update
sudo apt-get upgrade
With that out of the way we can now install MiniDLNA
sudo apt-get install Minidlna nano
Nano may already be installed however it is the text editor we will be using for this documentation. Once MiniDLNA has been installed onto your Pi there is some configuration that must be done to one of the files.
sudo nano /etc/minidlna.conf
You will see a heavily commented configuration file versus the example I shall show you here. But it's for the most part the same.
#network_interface=eth0                 # Self-discovers if commented (good with NetworkManager)
media_dir=A,/home/user/media/Music      # Use A to restrict audio files only in this folder.
media_dir=P,/home/user/media/Pictures   # Use P to restrict pictures only.
media_dir=V,/home/user/media/Videos     # Use V to Restrict Video Only.
friendly_name=RaspberryPi               # Optional
db_dir=/var/cache/minidlna              # Needs to be un-commented
log_dir=/var/log                        # Needs to be un-commented
inotify=yes                             # 'no' for less resources, restart required for new media
                                        # If 'yes' then it will scan for new files.
Alternatively, you do not need to setup flags for "media_dir" if all of your media is in one folder and you prefer the MiniDLNA to parse it for you. Simply leave the flag off and it will scan everything in that folder for all known file types.
media_dir=/home/user/media # No flag used indicating to scan ALL known media for DLNA
Once you are done with this. Ctrl-X to save, overwrite /etc/minidlna.conf and we are done there. I should note that you can point the directory to anyplace on the raspberry Pi that is publicly accessible including and not limited to /mnt/ folders which contain things like portable hard-drive and USB hard-drives. In my situation however I have a 32gb MMC card which is doing just fine for all of the serving of media. If you feel that your MMC card has more then enough space then you don't need to worry about mounting external drives. to start the service manually simply type the following:
sudo service minidlna start
And this will start up this service manually. Now if you are like me you probably want this service to automatically start everytime you turn on your Raspberry Pi so your media is at your finger tips. Another simple command can be executed with:
sudo update-rc.d minidlna defaults
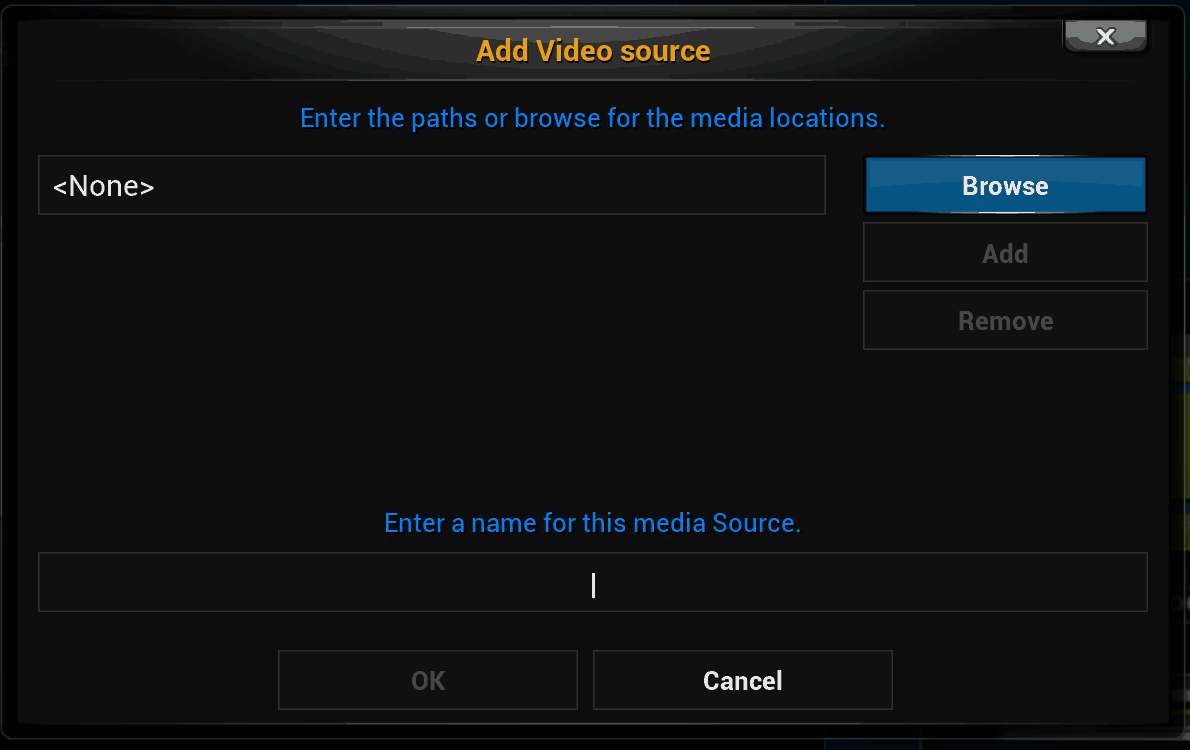 We are pretty much done with the installation. Your Xbox, or XBMC or Kodi compliant player such as an Ouya can now see this as a UPNP compatible device on the network.
 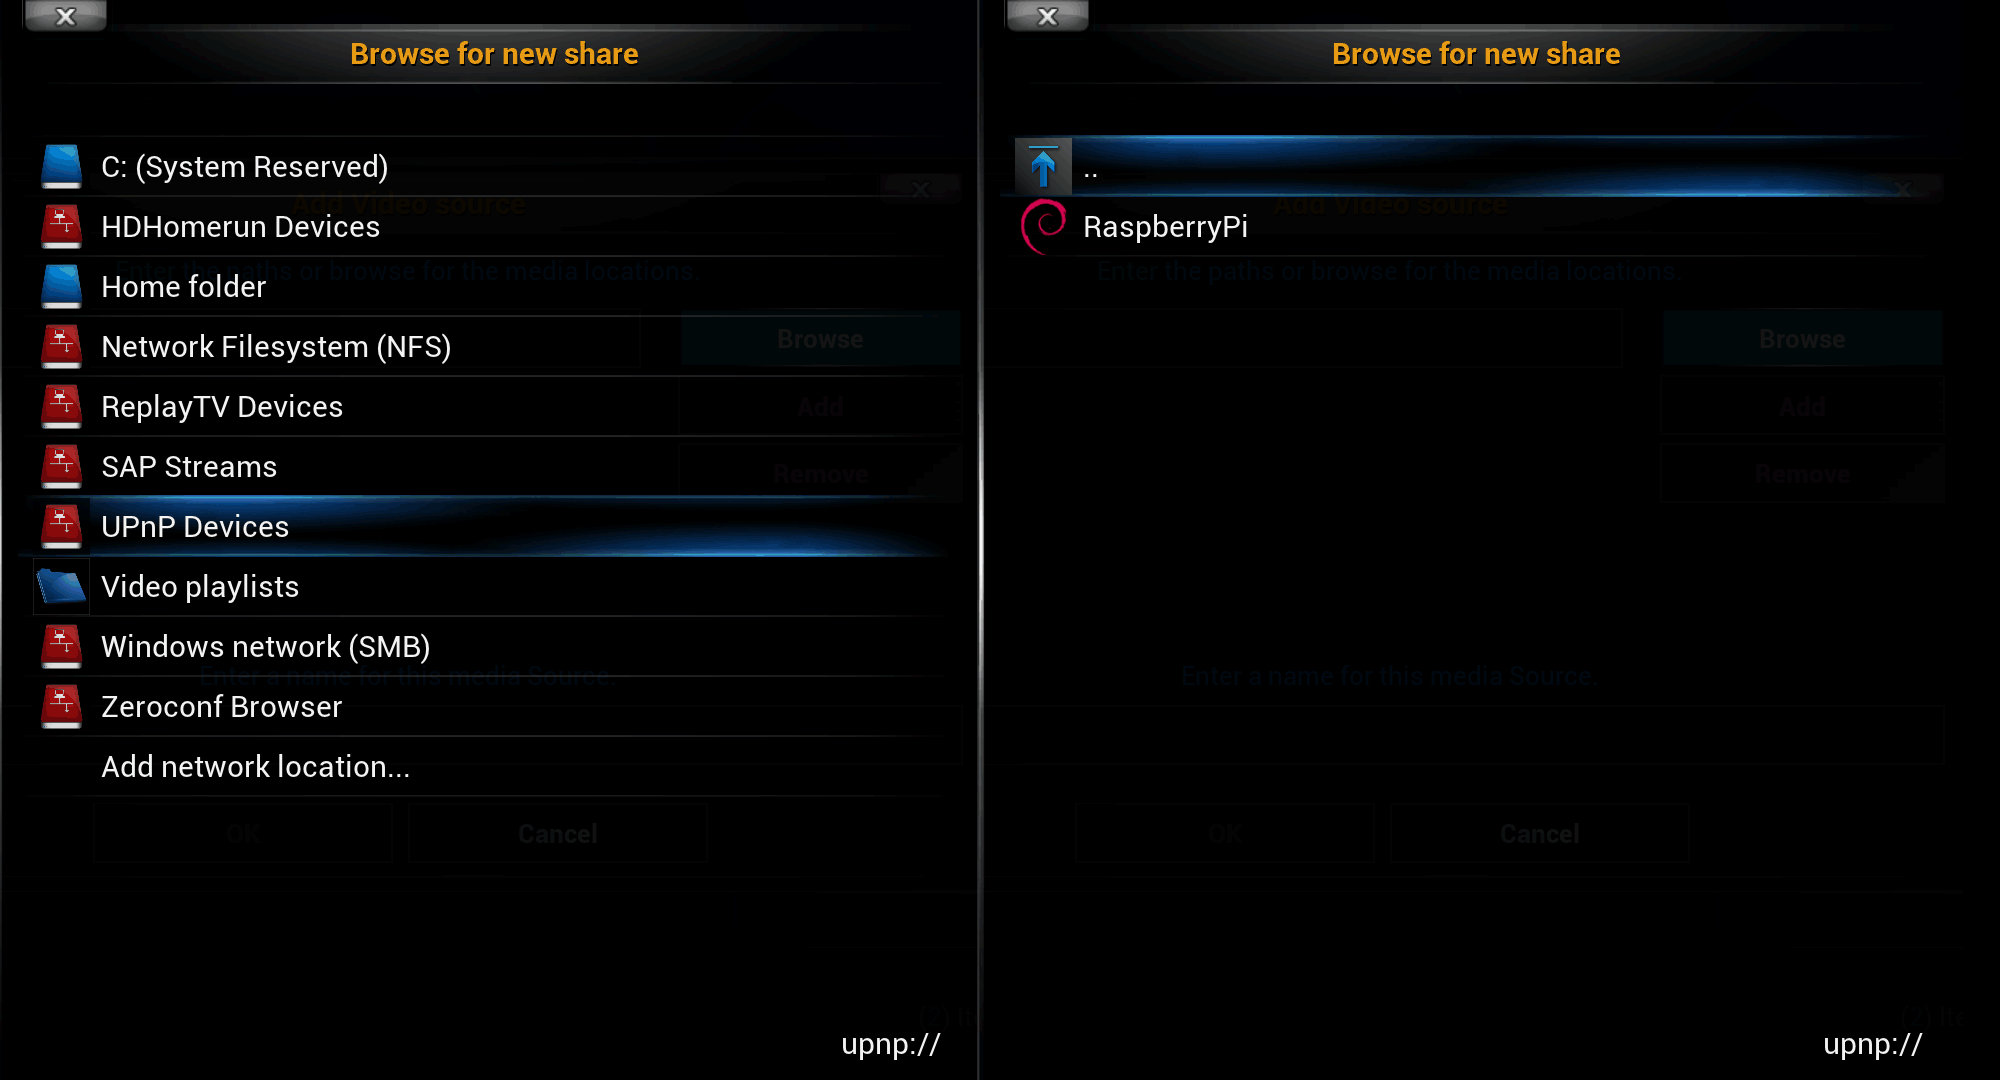 Done!
Done!
Troubleshooting
In case you have to majorly update the configuration file MiniDLNA sometimes will not search the new directory configuration that you give it even after you pass a service restart like the following:
sudo service minidlna restart
To force MiniDLNA to rebuild its database you have to specify a force command as follows:
sudo service minidlna force-reload
which depending on how much music/pictures/video that you have can take some time for the database to rebuild.
Firewall Information
This is only relevant to Pidora which has its own firewall. MiniDLNA runs on ports TCP:8200 and UDP:1900. You do not need to worry about this in Raspbian as by default there is no firewall.
Special thanks and reference.
MiniDLNA Community help for Ubuntu - Even though it's a different version of Linux a lot of the global commands are identical and work just fine on the Pi.
That's what server said.
+++END OF LINE.
This tutorial has been useful though could really use a guide to give root access to allow files to be added
I don't understand. The MiniDLNA server is on the Raspberry Pi running raspbian. As long as you put the files into the directories stated for the config file. It should be fine. You could add files to the Raspberry Pi in many ways such as SSH/SFTP access. or Samba access..
If you are having difficulties with the permission of the folder and adding files into it. You could give your user account ownship as root.
sudo chown -R piuser:piuser /home/user/shareThe first "piuser" is the username and the second "piuser" is the group.
You can also give the folder full read/write/execute for the user/owner and read/write for the daemon like this.
sudo chmod -R 755 /home/user/share